The audio recording which you record on iPhone are known as Voice Memos. However, transferring these recordings to your PC or other storage devices may seem challenging if you’re unfamiliar with the process. If there are collection of Voice Memos piling up on your iPhone eating up the space and you want to move them, then this guide will help you to confidently transfer those voice memos from your iPhone to PC or any other storage devices.
There are several ways to transfer Voice Memos from an iPhone to a computer or other storage devices. Here, we’ll cover each available method, allowing you to choose the one that best suits your needs.
Table of Contents
Transfer iPhone Voice Memos to PC
You can use this method to transfer voice memos from iPhone to PC on Windows, MAC, Android or any other operating system devices.
To initiate the transfer of voice memos from iPhone won’t require you to connect your iPhone to PC via USB cable, instead it is completely a wireless method which involves use of iCloud Drive.
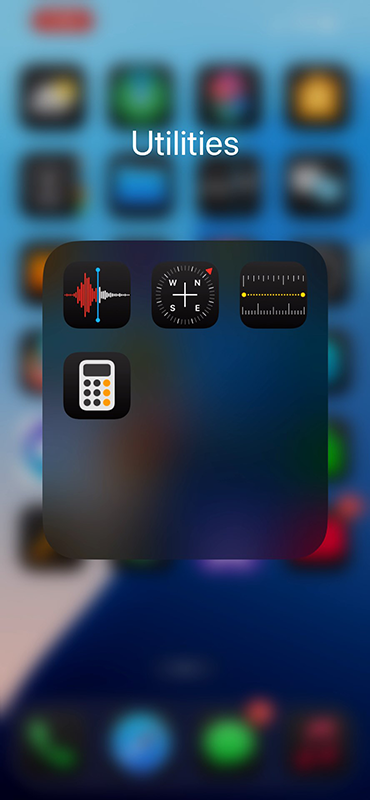
Open Voice Memos on iPhone

The voice memos will display all the recordings

To select the recordings tap on the edit button appearing at the top right corner and this will give you option to select the voice memos from the list
Select the voice memos which you wish to transfer and tap on the arrow up icon appearing at the left bottom corner of the screen
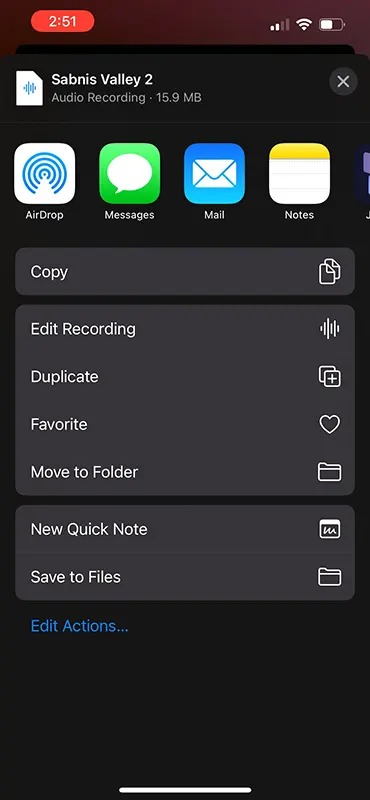
Several options will be displayed, from the options tap on the Save to Files
By default it will have iCloud Drive location selected, from the On iCloud Drive you may create a new folder by tapping on the three dots or select the Downloads folder or directly select the iCloud Drive location
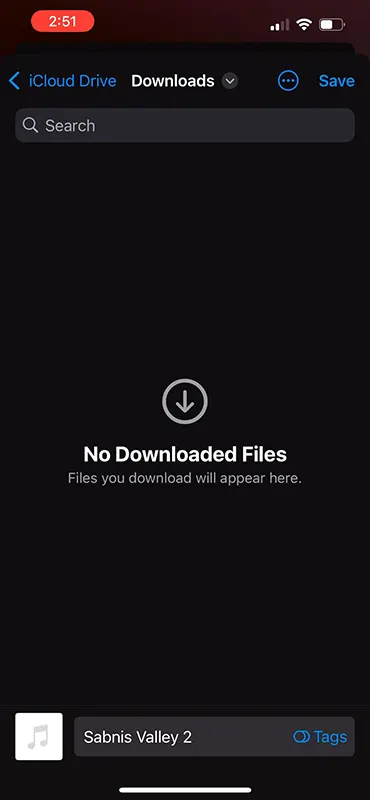
Tap on the Save button appearing at the top right side of the screen
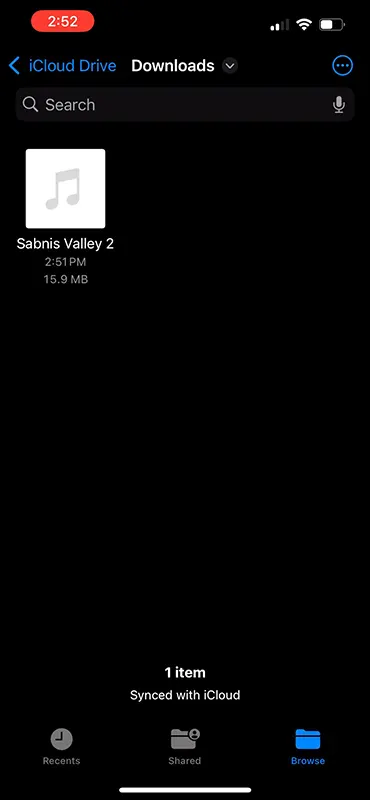
The voice memo will successfully get uploaded to the iCloud Drive
You may now access the iCloud Drive on any device such as PC, MAC, Android etc. and download the uploaded Voice Memo from the iPhone.
To access the voice memo on iCloud Drive open the web browser and visit https://www.icloud.com/
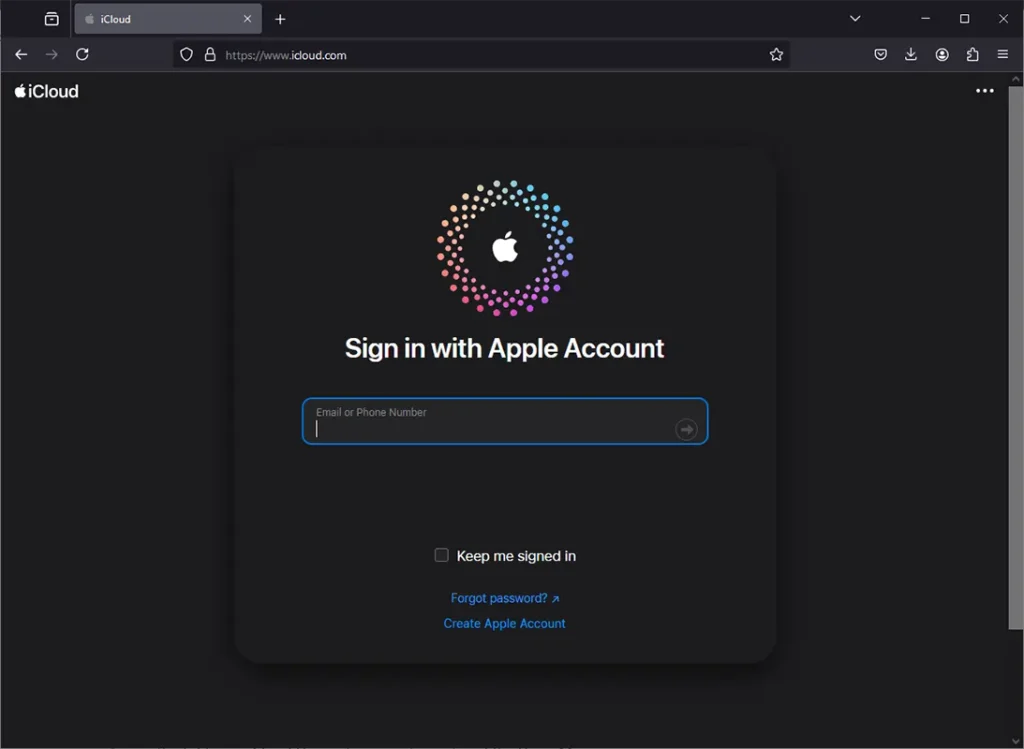
Click on Sign In and sign in into the same apple account which you have signed in on your iPhone
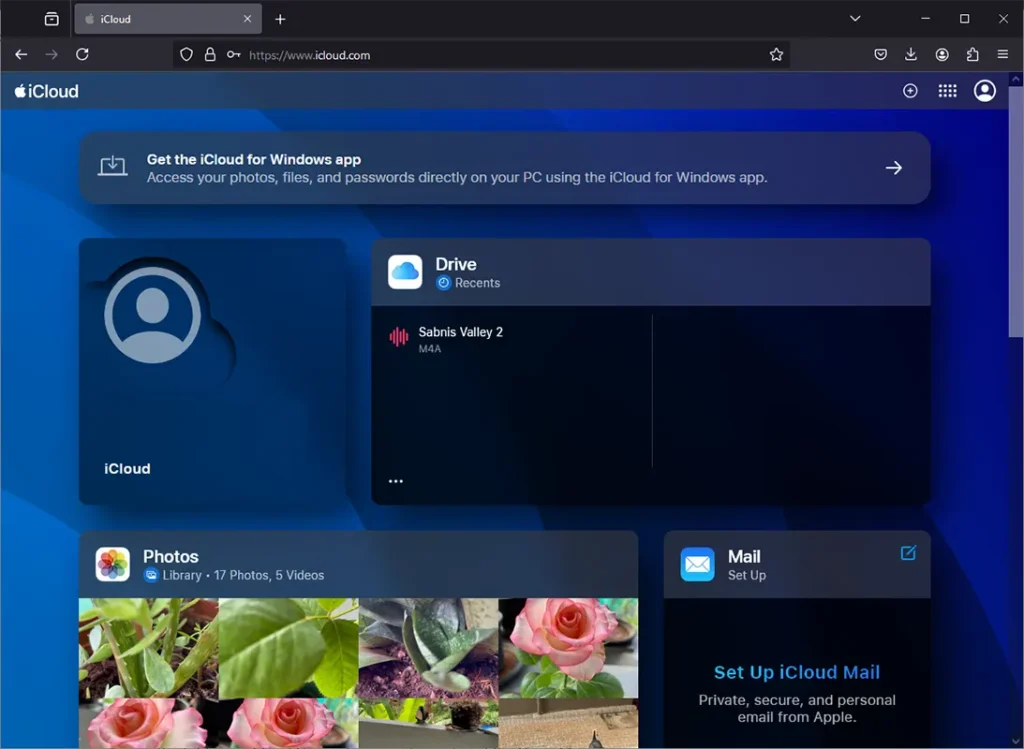
Once signed in, click on the Drive option
And you will get navigated to iCloud Drive
Access the folder on iCloud Drive where you have stored the Voice Memos
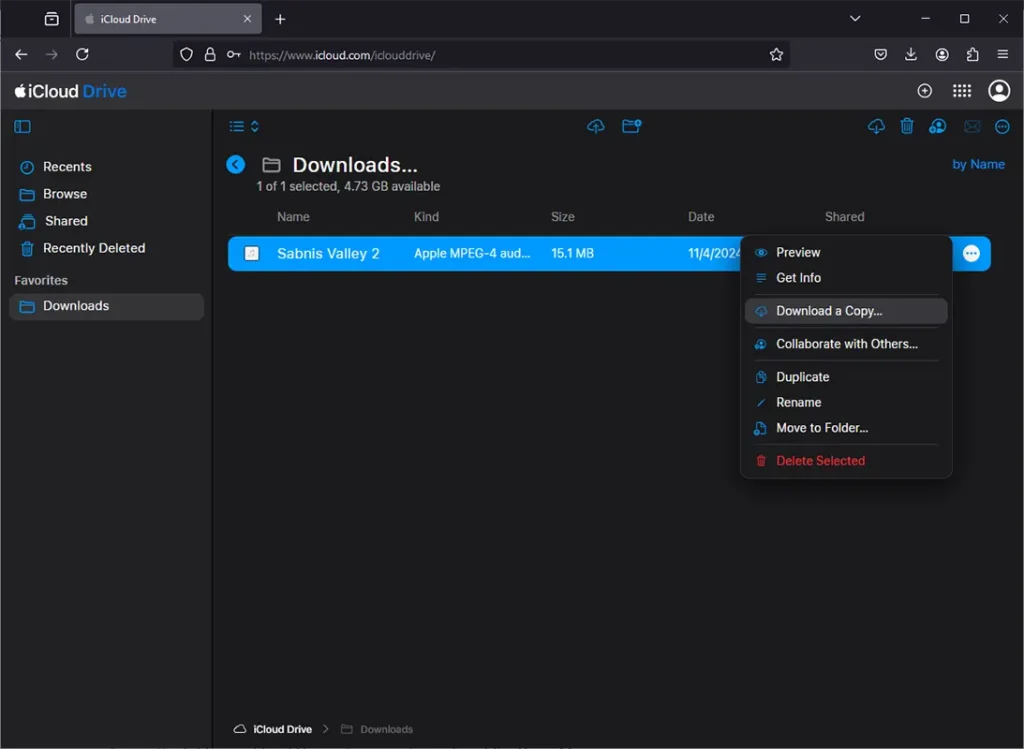
Select the Voice Memos and click on the Download a Copy button
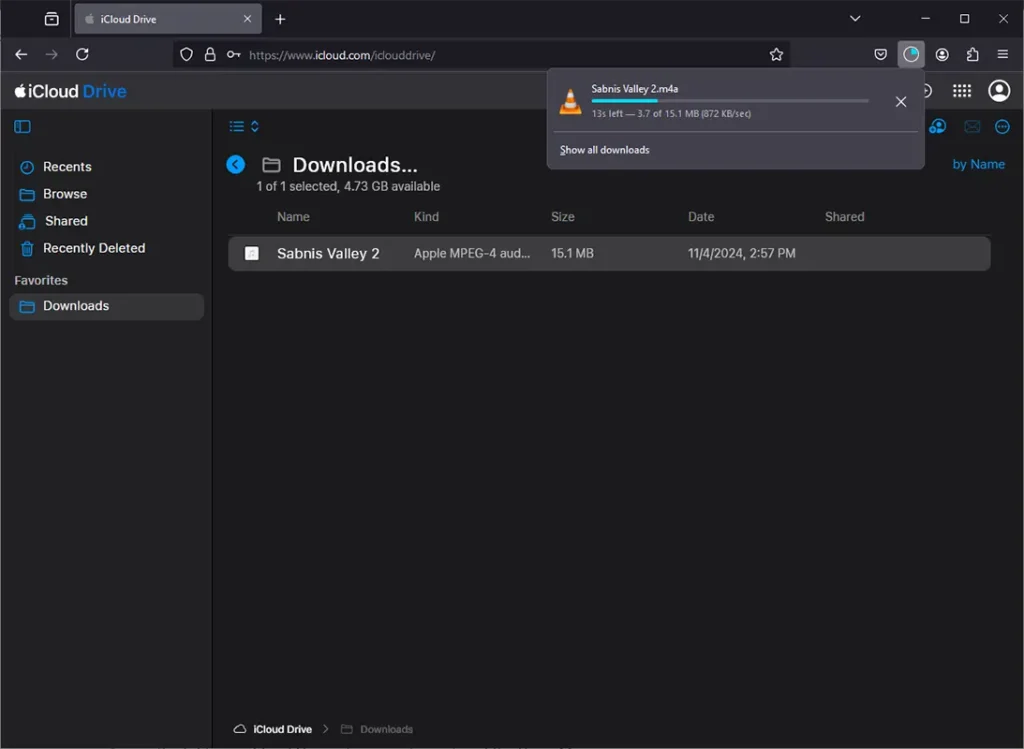
This will download the selected voice memo on your device
That’s all, you have now successfully Transferred iPhone Voice Memos.
How to Transfer Voice Memos from iPhone to Flash Drive without PC
To transfer Voice Memos from an iPhone to a flash drive without using a computer, you’ll need either a USB-C to USB adapter or a Lightning to USB camera adapter, depending on the port on your iPhone.
Now a days you also get Flash Drives with Lightening Port or Type C Ports, if you have those then you won’t need any additional adapters to purchase.
Once you have the adapter connect it to your iPhone, and at the other USB end plugin the Flash Drive or External Hard Disk Drive
Open the Voice Memos, tap on the edit button appearing at top right corner

Select the voice memos from the list which you wish to copy or transfer to the Flash drive

Tap on the arrow up icon appearing at the bottom left corner of the screen

From the options displayed tap on the Save to Files
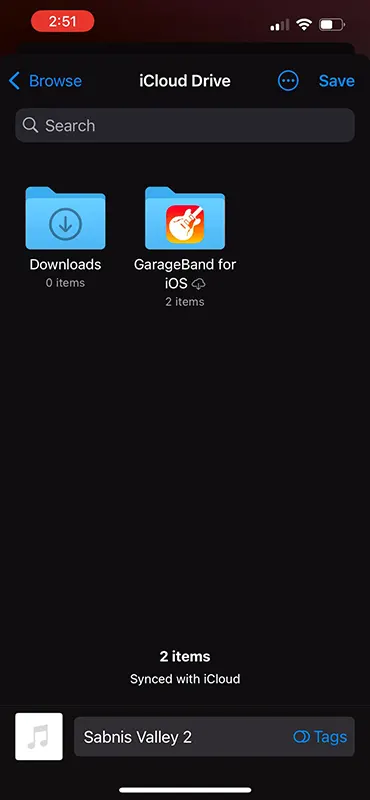
By default the location selected will be iCloud Drive
Tap on the back or browse button appearing just before the iCloud Drive
And this will load up the storage locations
From the locations tap on the USB Flash Drive which you have connected
You can create a new folder by tapping on the three dots icon
Select the created folder and tap on the Save button appearing at the top right corner
The voice memos will be transferred or copied from your iPhone to the USB Flash Drive or Hard Drive which you connected
It may take several minutes to complete the copying process
Once it’s done you can eject the Flash Drive or Hard Drive and access the copied voice memos on any device.
Leave a Reply