Recently Microsoft in its latest update has pushed an new feature in Windows OS, which is Microsoft Edge Desktop Search Bar. The Microsoft Edge Search Bar on Desktop allows the user to have a quick search of any query on internet without opening the browser.
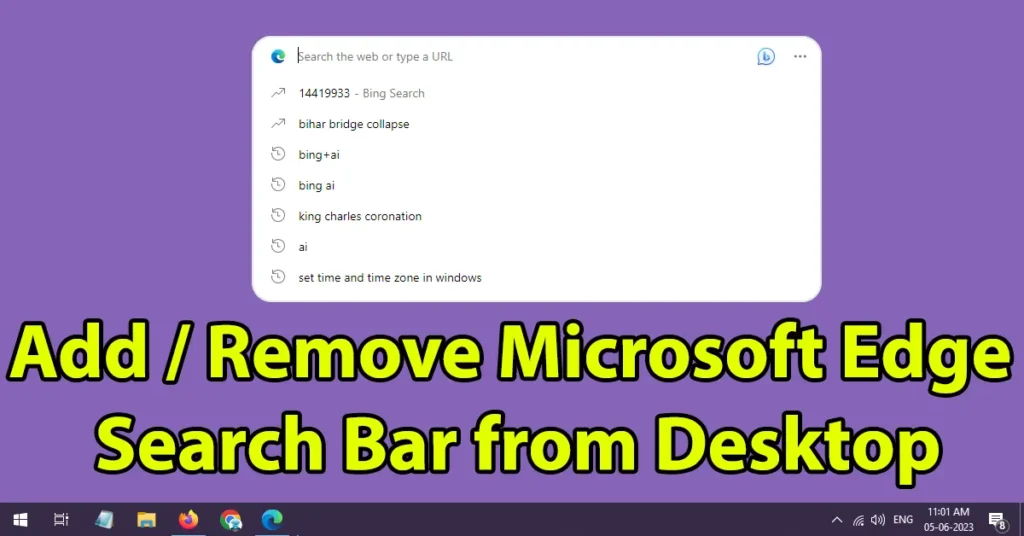
The Microsoft Edge Search Bar placed on the desktop in Windows is a very helpful tool to few users, but few of them might find it annoying. So to help those set of users here is the quick tutorial on how to remove search bar from Desktop in Windows 10 or Windows 11.
Table of Contents
Remove Microsoft Edge Search Bar from Desktop
To remove the Microsoft Edge Desktop Search Bar or Turn Off edge search bar click on those three dots
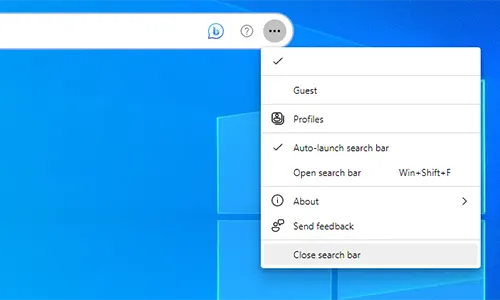
From the displayed options click on the Close Search Bar
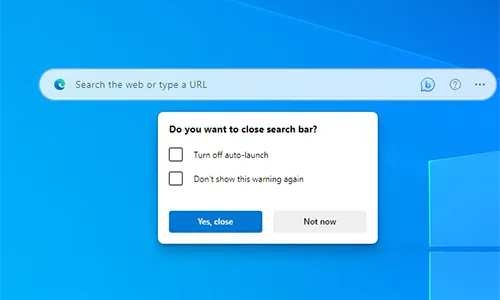
This will present a pop-up menu asking you whether Do you want to close the search bar? If you select Yes, Close it will close the search bar for the moment. But when you restart your PC or laptop it will again appear. So if you want to close it permanently or to get rid of microsoft edge search bar from appearing on your desktop screen just tick mark on the Turn off auto-launch and than click on the Yes, close button
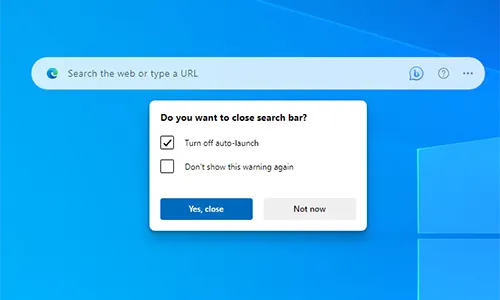
This will permanently disable edge search bar from your Windows desktop and even if you restart your PC the Microsoft Edge Desktop Search Bar won’t appear again.
But permanently removing the Microsoft Edge Desktop Search Bar doesn’t mean you cannot enable it again. Yes, if you wish to have the search bar again in future on your desktop screen then you can enable it, below are the steps which you need to follow to enable Microsoft Edge Desktop Search Bar on Windows Desktop.
How to get Edge Search Bar on Desktop
To enable edge search bar on desktop open the Microsoft Edge browser
Click on the three dots appearing on top right side of the browser
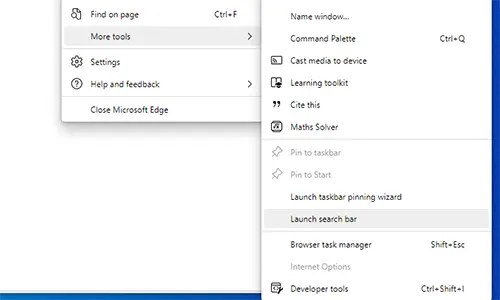
Under more tools option click on the launch search bar
This will instantly place the Microsoft Edge Search Bar on Desktop, but when you restart your PC or laptop the Microsoft Edge Search Bar won’t load automatically but you need perform the above step to launch it every time after every restart.
To make the Microsoft Edge Search Bar auto launch on desktop every-time even when you restart your PC or Laptop click on the three dots in the Microsoft Edge Search Bar
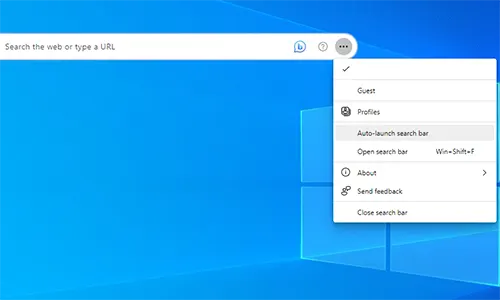
And select auto-launch search bar, on selecting Auto-launch search bar a tick mark will appear against it
So this means Microsoft Edge Search Bar will load every time even if you restart your PC or Laptop.
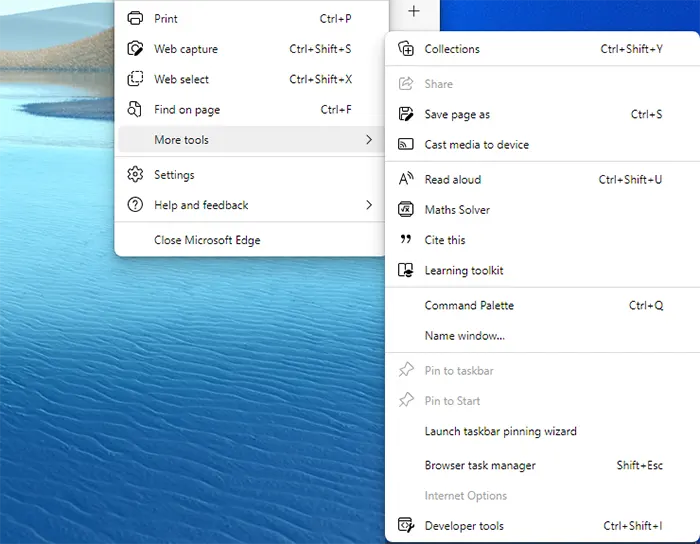
If you aren’t getting launch search bar option in the Microsoft Edge browser under the more tools menu, then follow the below process to add the launch search bar option.
How to Get Launch Search Bar Option
Launch Search Bar Edge Not Showing? To enable edge search bar on desktop or get the launch search bar option under more tools in Edge Web Browser, open the Run dialog box on your PC
The run command can also be opened by pressing the Windows key + R
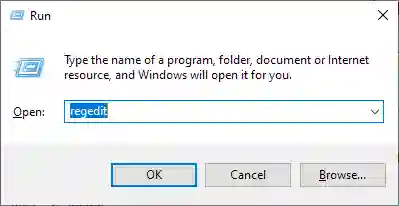
In the run command box type regedit and click on OK button
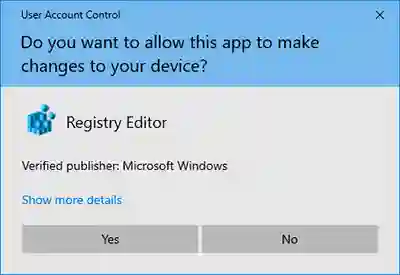
A pop up will appear “Do you want to allow this app to make changes to your device?”, just click on Yes to proceed
From the registry editor window navigate to HKEY_LOCAL_MACHINE\SOFTWARE\Policies\Microsoft
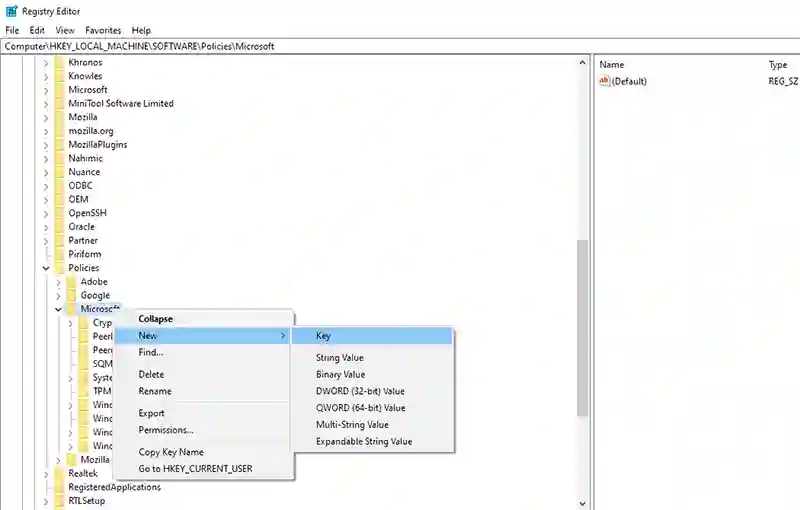
Right click on Microsoft and go to New and click on Key to create one
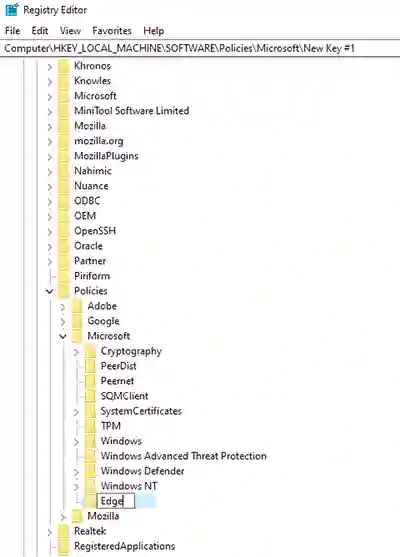
Keep the name as Edge
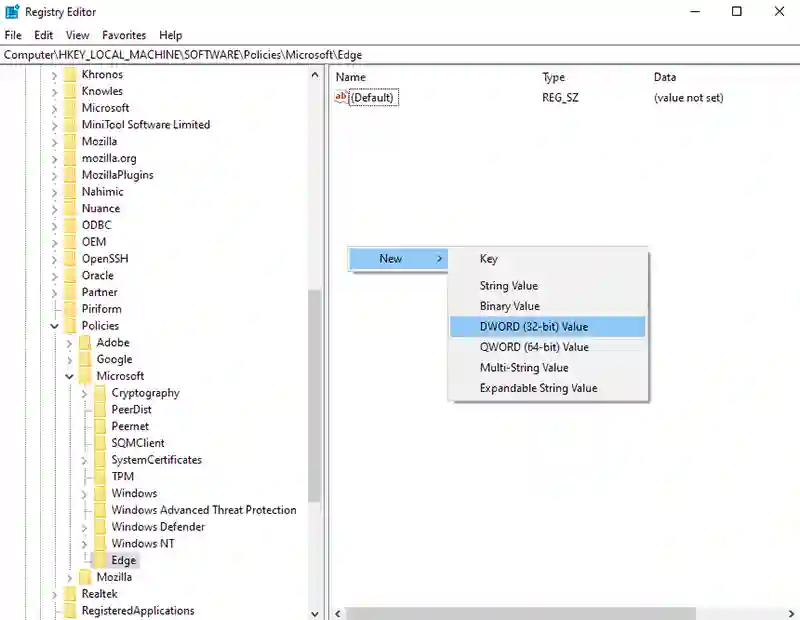
Right click on Edge key which you created, and go to New and create DWORD (32-bit) Value
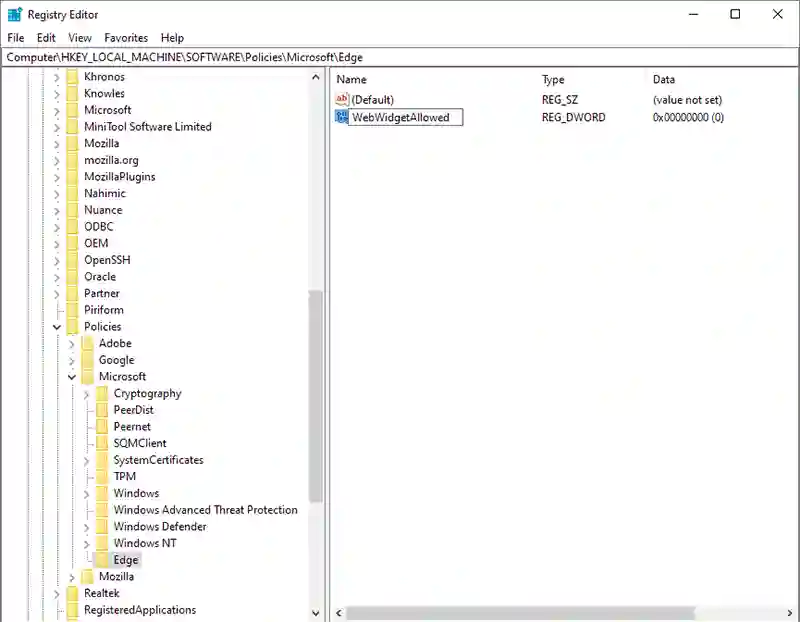
Set a name for it as WebWidgetAllowed
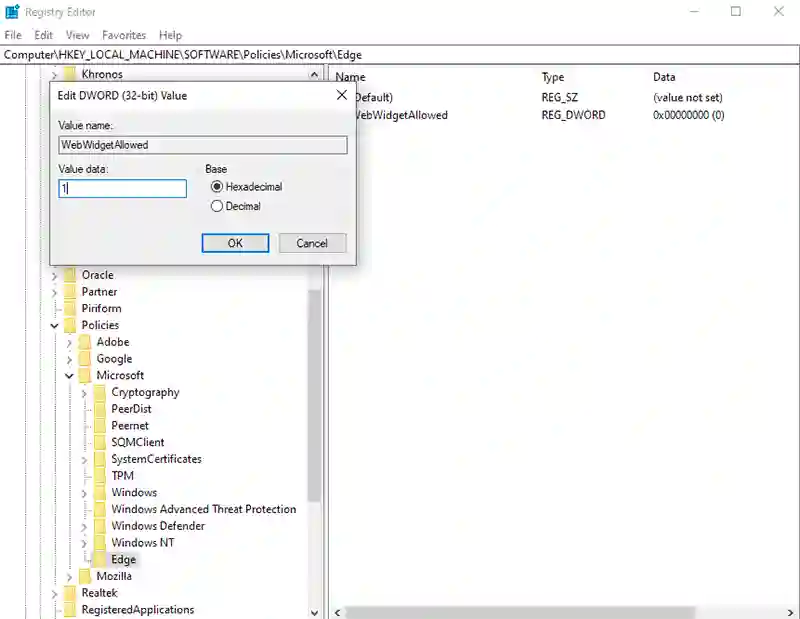
Double click on it and set its value to 1 by selecting base hexadecimal
Close the registry editor, as well as the Microsoft Edge Web browser if its open
Relaunch the Edge Web browser, and this time you will see an option launch search bar under More tools
Follow the above process in the article which is already explained to launch the edge search bar automatically on desktop when PC starts.
Alternatively if you want to disable the edge search bar on desktop then in the registry WebWidgetAllowed value put 0 and it will disable the edge search bar on desktop.
Edge Search Bar cannot be uninstall separately, instead if you don’t wish to continue with this feature then you can disable it by following the process explained above.
Leave a Reply