Migrate WordPress from Plesk: Migrating your WordPress website is a critical task that requires careful planning and execution. If you’re currently using Plesk and considering a move, this guide is here to help. In this article, we’ll walk you through the process of migrating your WordPress site from Plesk Free with a focus on ensuring a seamless transition.
This procedure is designed for individuals seeking to migrate their WordPress website from one Plesk server to another. Let us commence with the process.
Prior to initiating the migration process of plesk to plesk migration, let us identify the prerequisites essential for transferring data from one Plesk server to another.
Table of Contents
Requirements to Migrate Plesk
| Old Plesk Server IP and Login (Source Server) | New Plesk Server IP and Login (Target Server) |
Migrate WordPress from Plesk
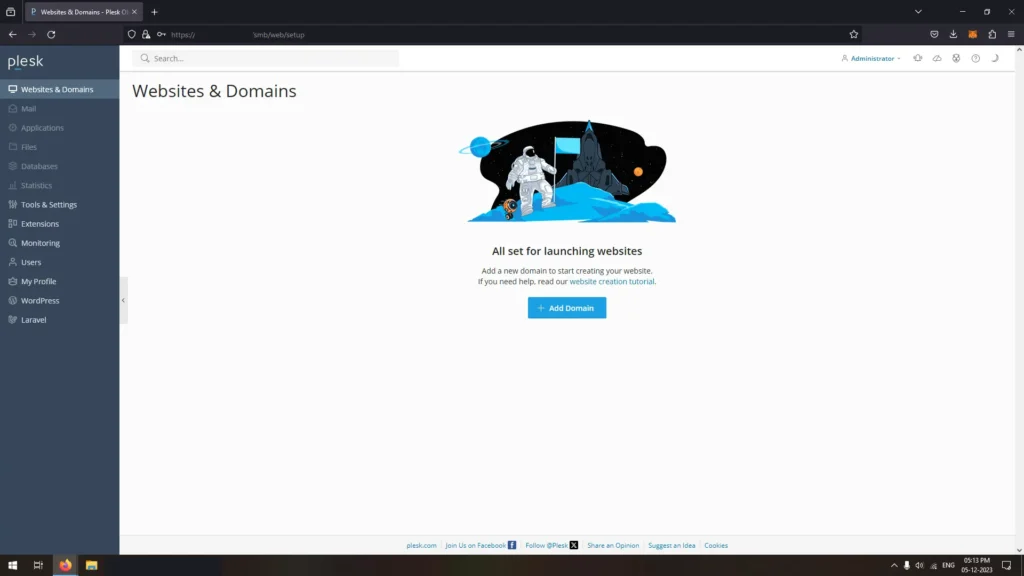
Login to the new Plesk Server by accessing the server IP

Once logging into Plesk Panel on your server, click on the Extensions tab from the left side pane
From the Extensions page search for Plesk Migrator (Plesk Migrator is a Plesk Migration Tool)
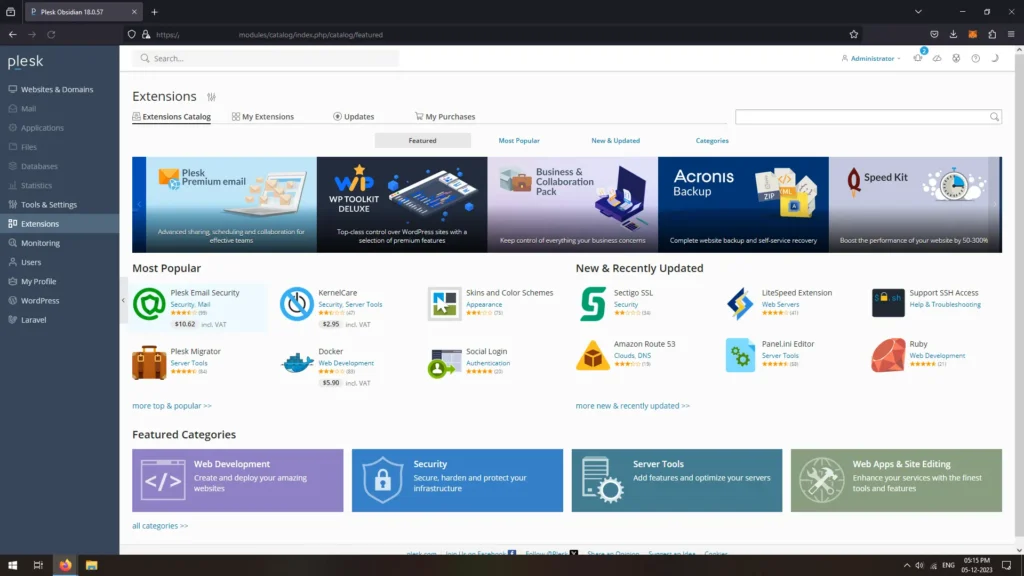
Install it by tapping on the Get It Free

It will take couple of minutes for Installing the Plesk Migrator extension
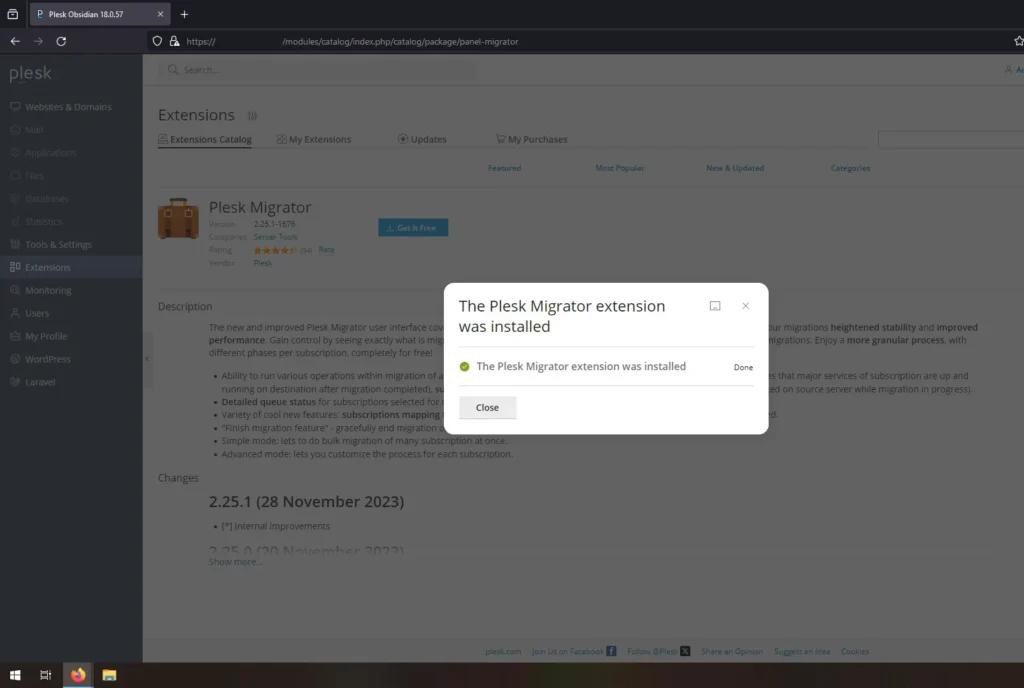
Once it’s installed, you can access it under Tools & Settings
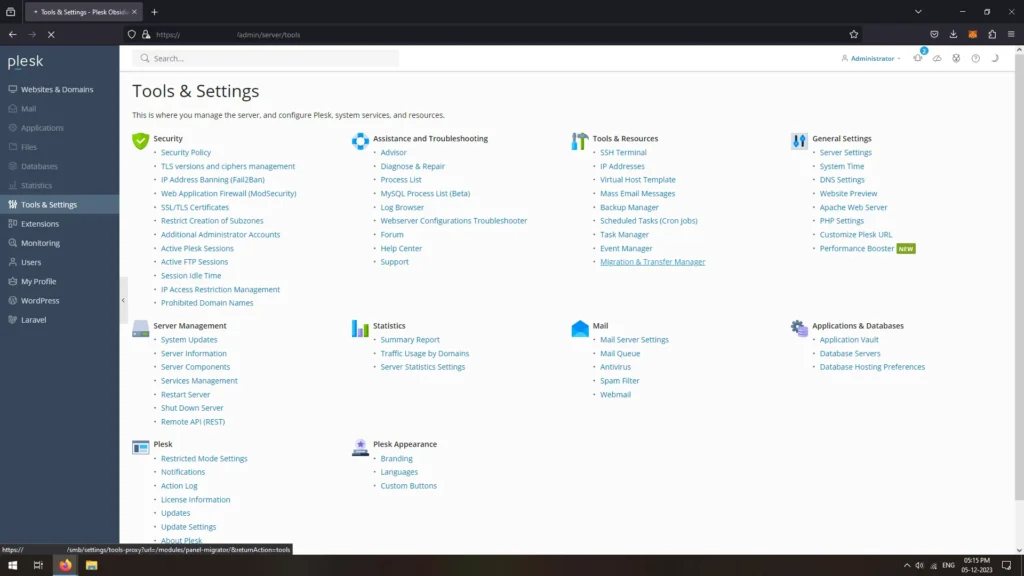
Click on the Tools & Settings tab from the left pane
From the Tools & Settings Page, under Tools & Resources click on the Migration & Transfer Manager
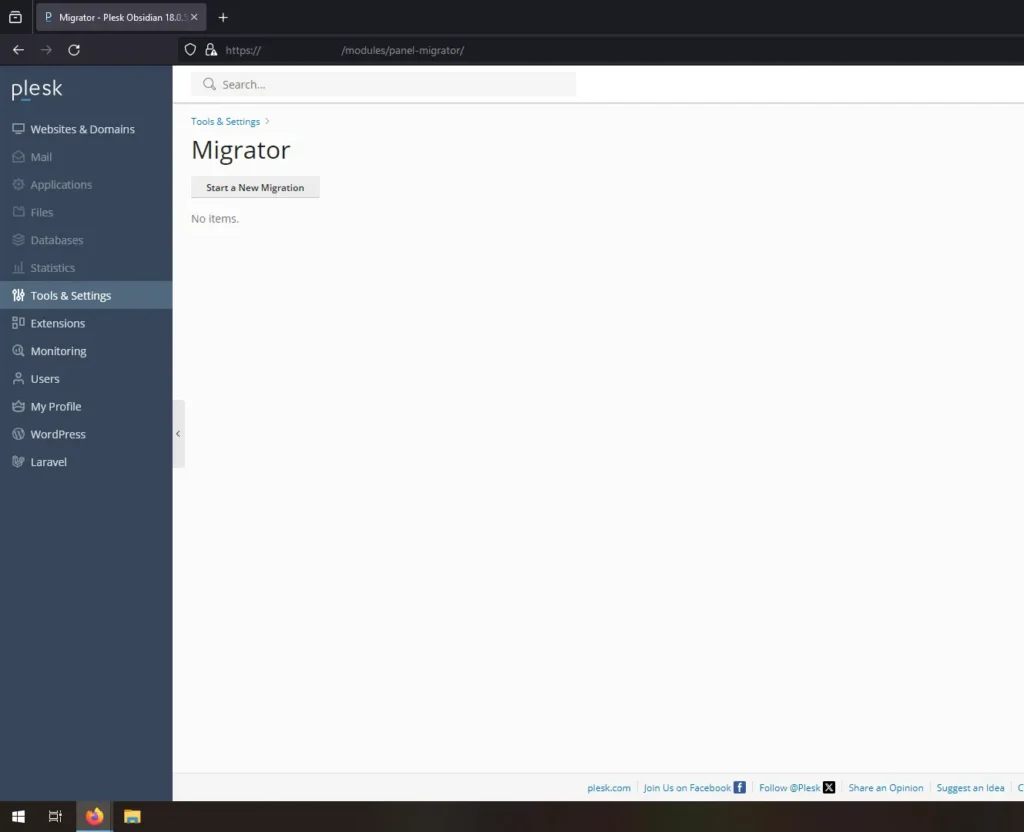
This will open a Migrator page, from which click on the Start a New Migration button
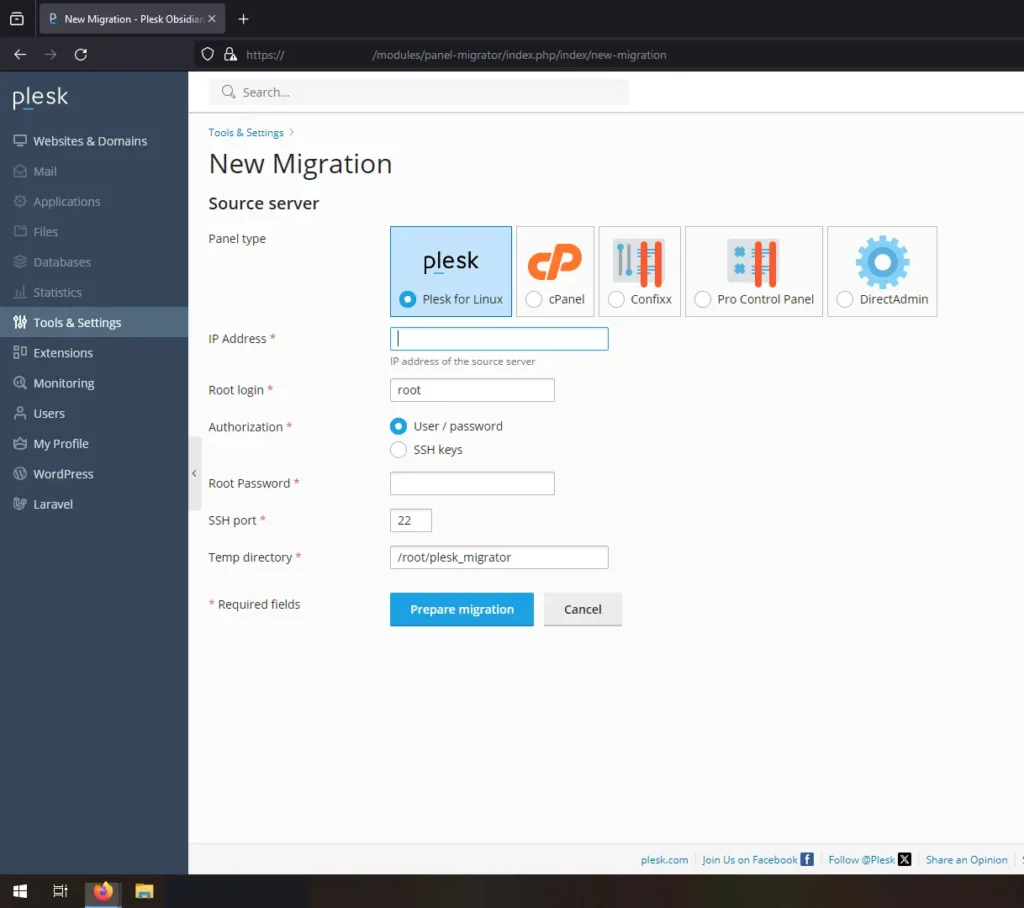
From the New Migration page, under Panel type by default Plesk for Linux will be selected
Just leave it intact as here we are performing migration of WordPress from Plesk to Plesk Server
Under the IP Address , enter the Old Plesk Server IP or Source Server IP Address
In the Root Login, the username root will be mentioned, just leave it intact as root access is needed
In Authorization two options will be available user/ password and SSH keys, select user/ password which will be selected by default (SSH keys will be applicable incase if you have enabled login via SSH)
While the migration process its better to disable the SSH key login and Enable Root Login via SSH
Enter the root password in the field and click on the Prepare migration button
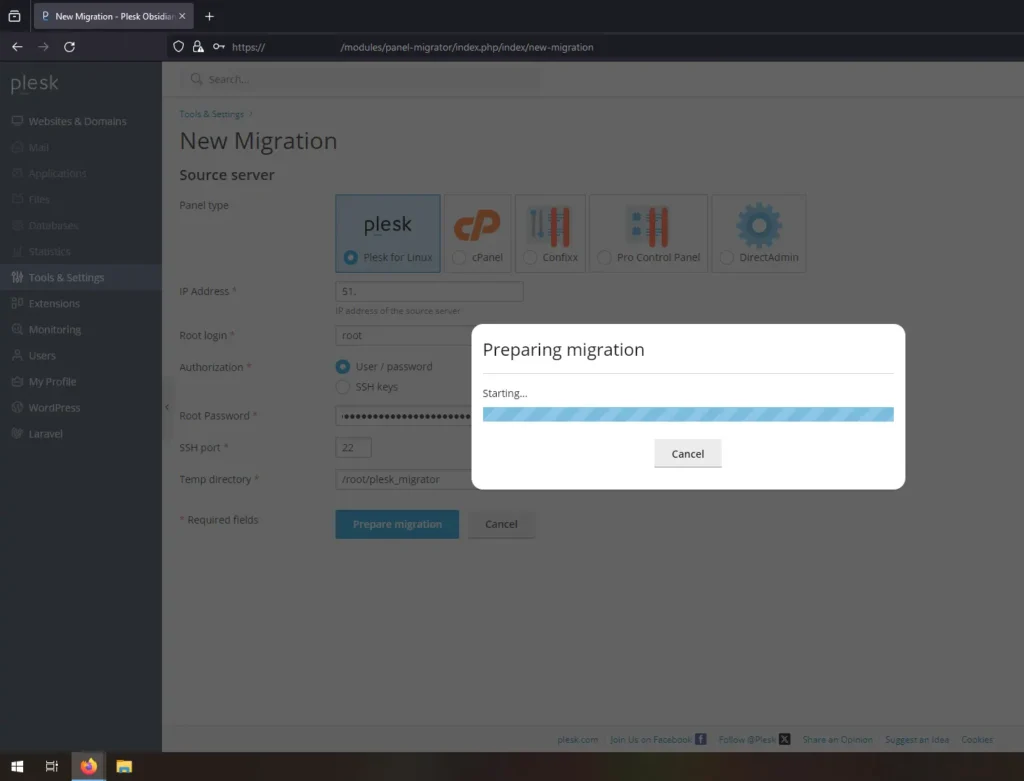
A pop-up will appear Preparing migration and in few minutes List of Subscriptions page will load up
You can migrate by selecting subscription, customer, reseller, hosting plan
Select any mode through which you wish to migrate, here i will prefer migration by subscription
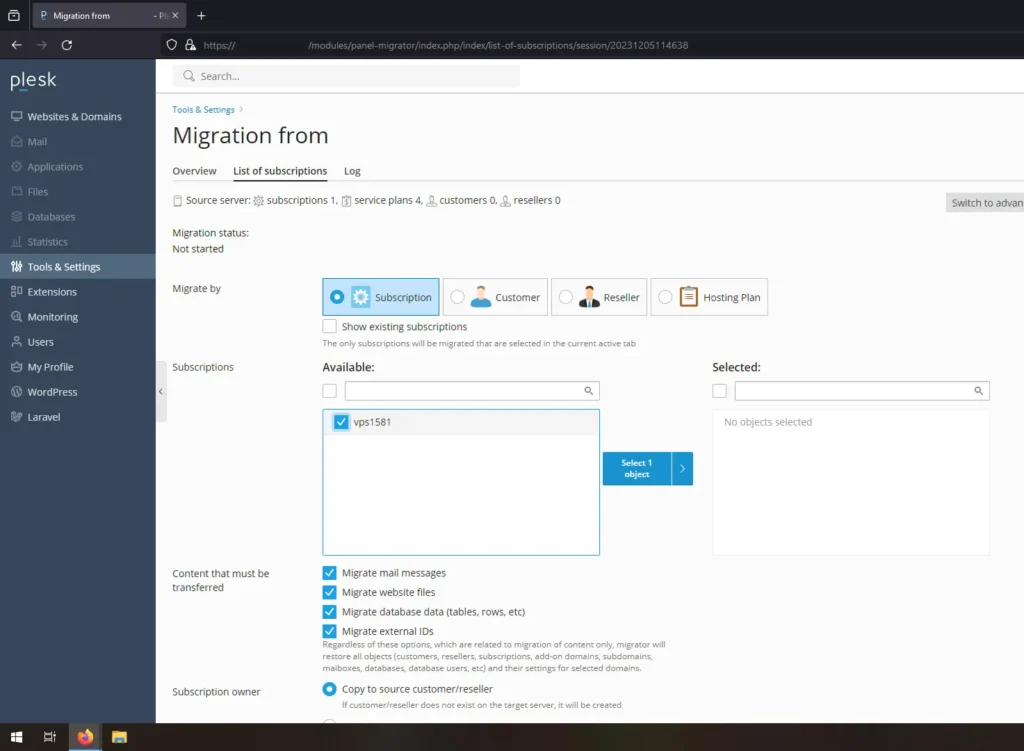
The Subscription available on the source server will be listed under Subscriptions, click on the available subscription displayed and click on the arrow button appearing, it will move the selected subscription to the right hand side selected section which means we have selected the subscription from source server to migrate to the target server which is a new server
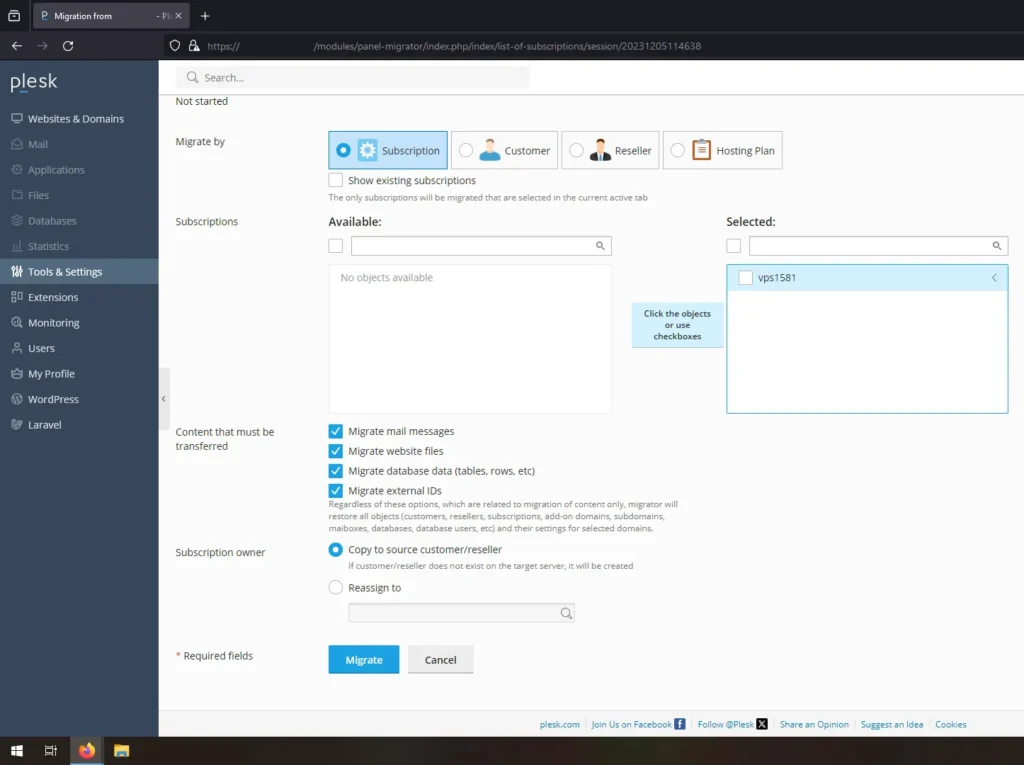
From the content that must be transferred, select all the options by default all of them will be selected, if its not then better select all of them such as Migrate mail messages, Migrate website files, Migrate database data (tables, rows, etc), Migrate external IDs
From the Subscription owner by default Copy to the source customer/ reseller will be selected, if you wish you can even select reassign to the new server, here i will prefer to keep it default
Click on the Migrate button to proceed
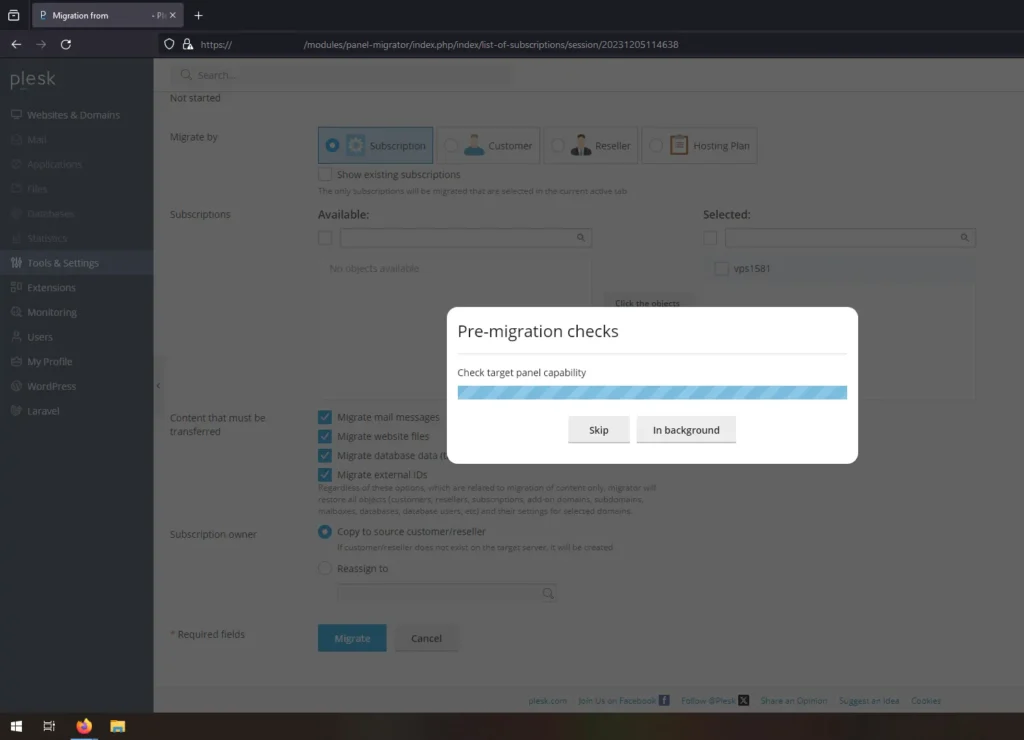
A popup will appear of Pre-migration checks to see if there are any issues, it could take few minutes to complete
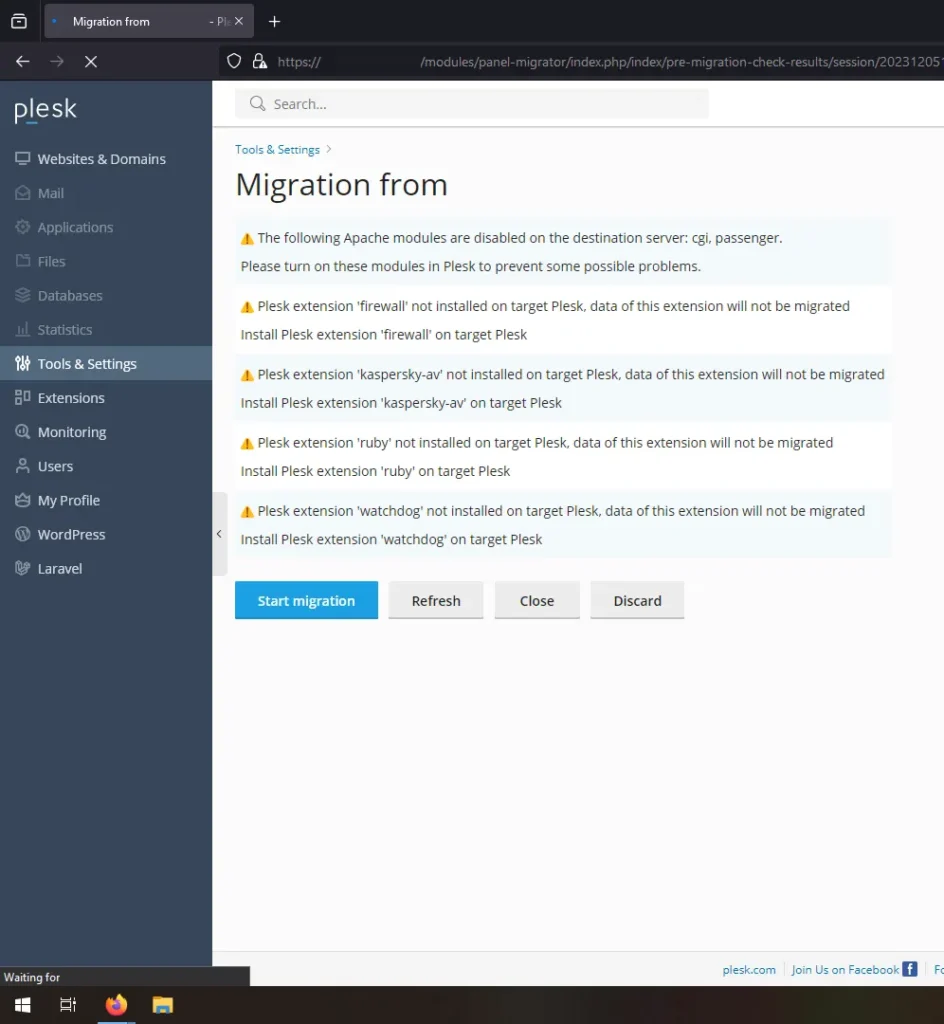
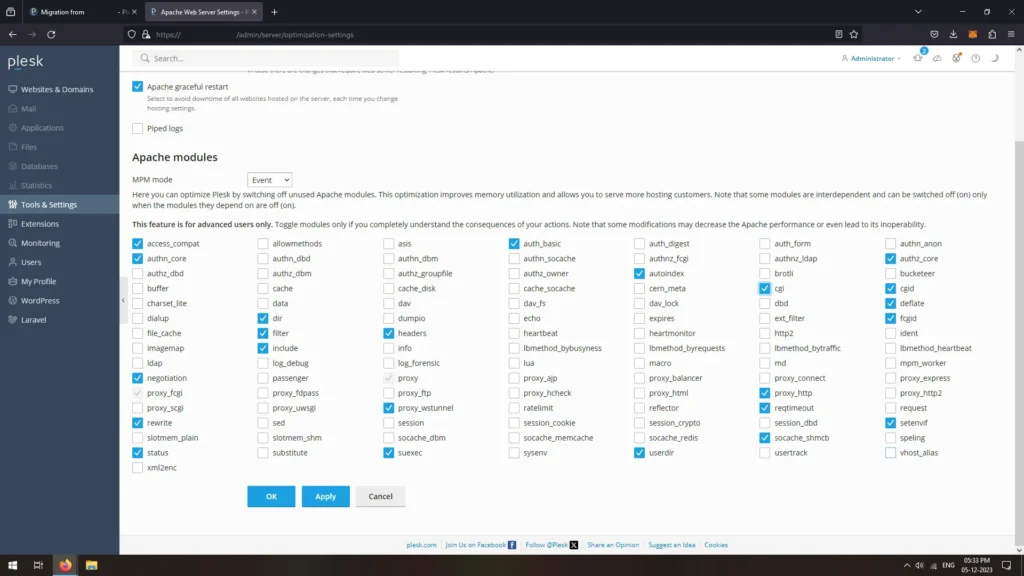
On the next page, Pre-migration results will display. If the result shows any modules to be enabled on the destination server then you need to first enable those modules on the destination server which is the new server to avoid any problems or failure. If the result also shows some of the extensions to be installed on new server which are present on the old server then you may install it if you are making using of it.
To install the modules just click on the Tools and Settings click on Apache Web Server under General Settings and under the Apache modules enable all the modules which are been asked to be enabled from the Pre-migration result page by tick marking on it and click on Apply button
Once modules are enabled, you can go to the Extensions tab and search for all the extensions displayed on the Pre-migration result page and install them one by one
Once you are done with this, go to the Pre-Migration page result and run the check again by clicking on the Refresh button
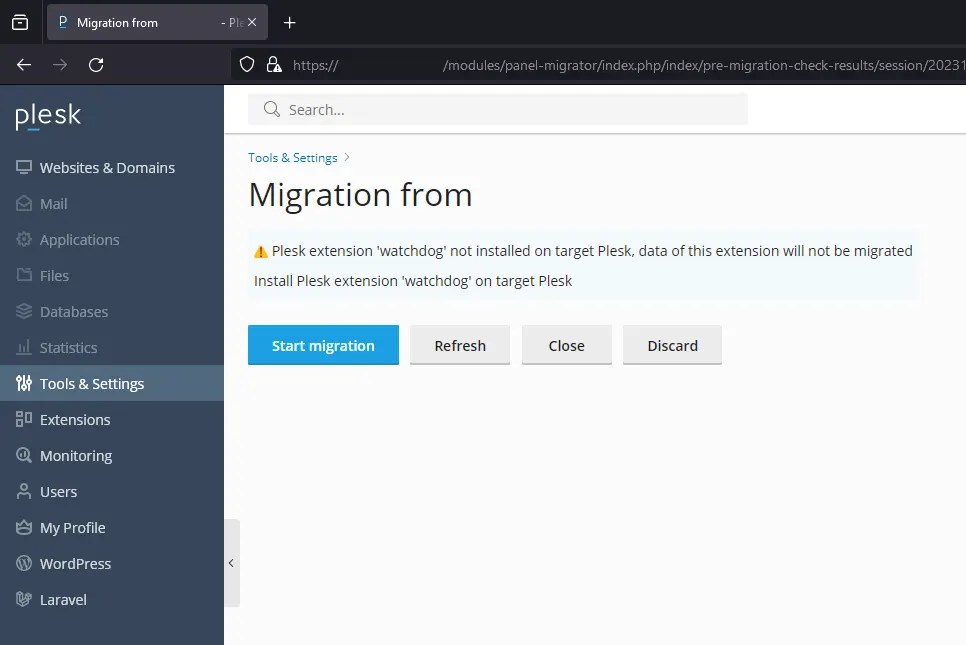
Now the all the warning should disappear, incase if any of the extensions are not available then it doesn’t matter. But all the modules mentioned should be enabled for successful migration
Click on the Start migration button to begin the process
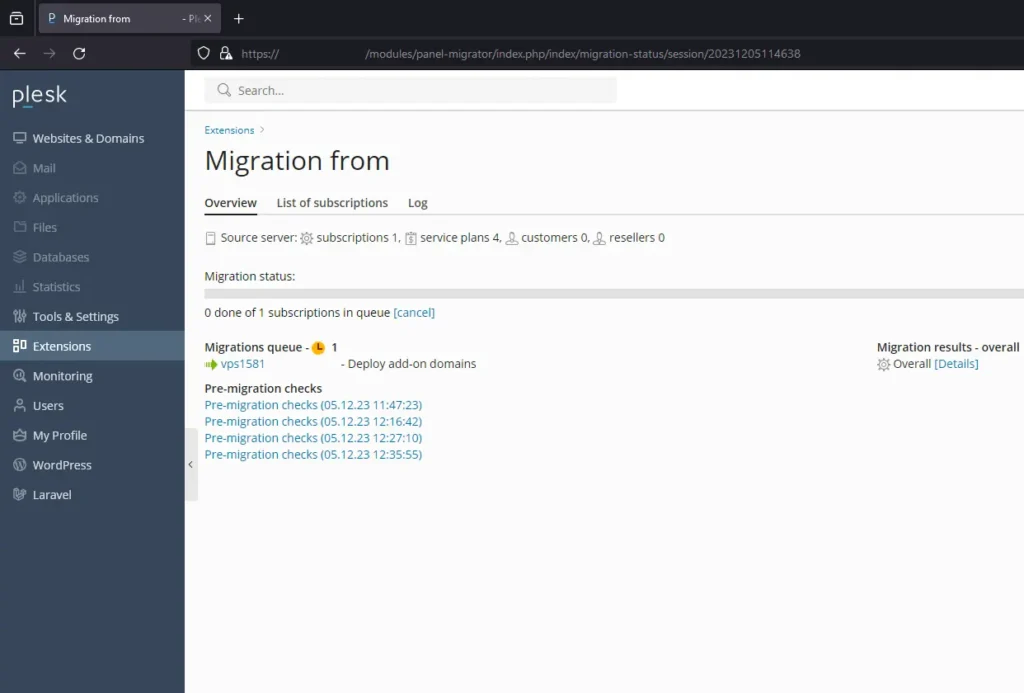
The migration process will begin, it could take several minutes to complete as per the data size
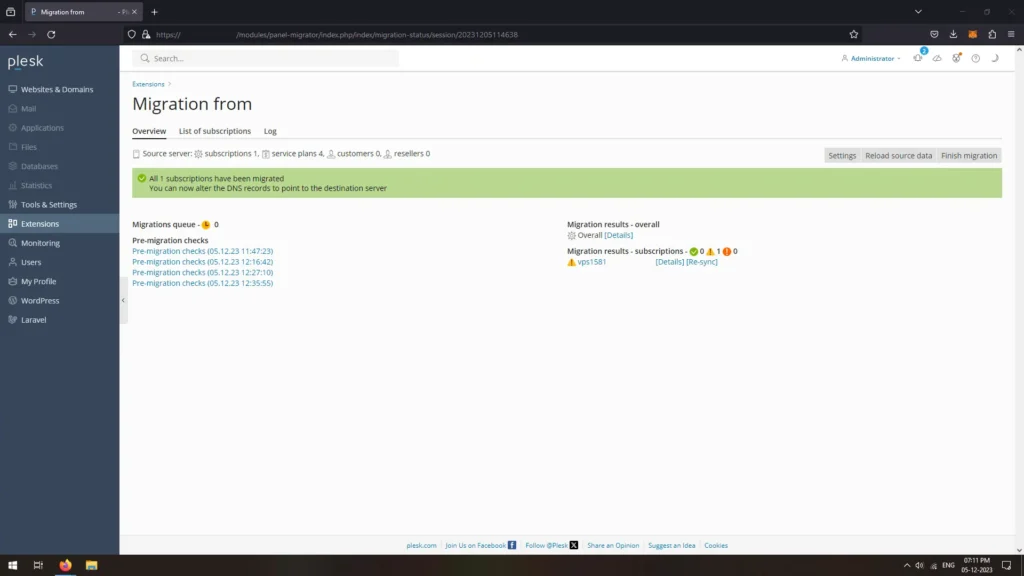
Once done a message will display “All Subscriptions have been migrated You can now alter the DNS records to point to the destination server“
The WordPress sites has been successfully migrated from old Plesk Server to the New Plesk Sever. To make the WordPress websites to run from the new plesk server, you need to change the domain DNS to the new Plesk Server IP.
You can view the migrated WordPress Websites by clicking on the Websites & Domains or WordPress tab from the left side pane.
Migrating your WordPress website from Plesk Free may seem like a daunting task, but with careful planning and execution, it can be a seamless process. By following the steps outlined in this guide, you’ll be well on your way to enjoying the benefits of a new hosting environment while maintaining the integrity of your WordPress site. Remember to take your time, double-check each step, and seek professional assistance if needed for a hassle-free migration experience.
Leave a Reply