If you are looking forward to edit vertical video in iMovie, you know how frustrating it can go. The iMovie app on iOS does not support vertical videos, which can make the process seem daunting. If you have tried importing a vertical video into iMovie, you may have noticed that the sides of the video gets chopped off and black bars appears on both sides because of the landscape mode. However, if you know the right technique then it is possible to successfully use the iMovie portrait mode on your iPhone or iPad. In this article, I will guide you through the steps to edit vertical video in iMovie without installing any vertical video editor iPhone.
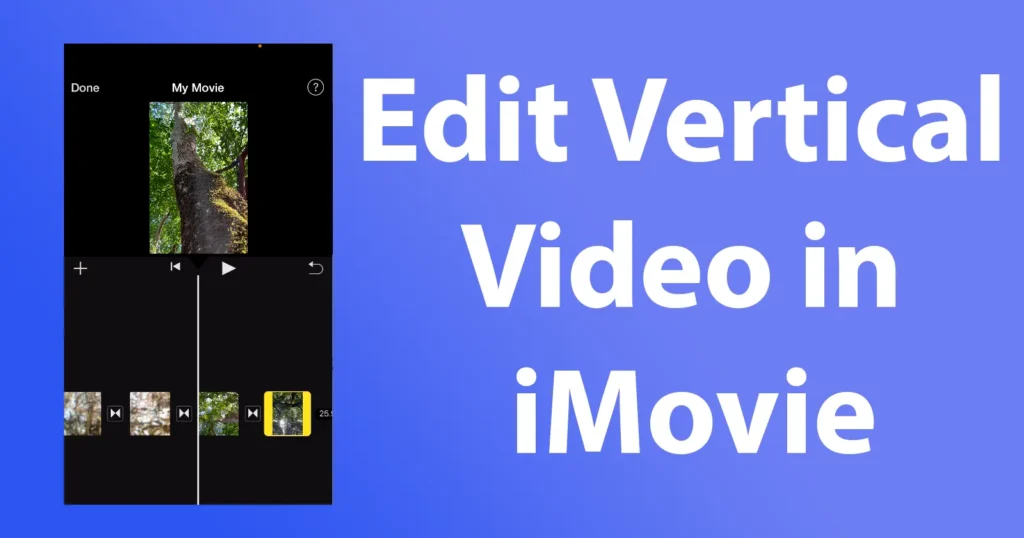
Sometimes, you might want to edit vertical videos that you recorded on your iPhone or iPad using the iMovie, without taking the trouble of transferring them to your computer or using any other video editing apps. Edit vertical video iMovie is really helpful if you want to share the videos on YouTube Shorts, Instagram Reels, or TikTok.
Before diving into the process to make iMovie Vertical on iPhone or edit vertical video in iMovie app, lets understand what exactly is a vertical video and later on find how to make iMovie vertical videos.
Table of Contents
What Is a Vertical Video?
Unlike traditional landscape videos, vertical videos are shot in portrait mode, with the phone held vertically. This can make them difficult to edit, as most editing software is designed for landscape videos. However, iMovie has several tools that make it easy to edit vertical videos and create a professional-looking video.
You might need to edit vertical videos in iMovie if you want to post them on YouTube Shorts, Instagram Reels, or TikTok. This will help make sure your videos look good and are easy to watch for your audience.
So lets dive into on how to make portrait video in iMovie on iOS devices like iPhone or iPad.
Edit Vertical Video in iMovie
To make a iMovie vertical video in iMovie Open the iMovie app
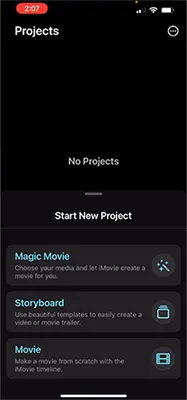
Start New Project by selecting any of the options like Magic Movie, Storyboard or Movie
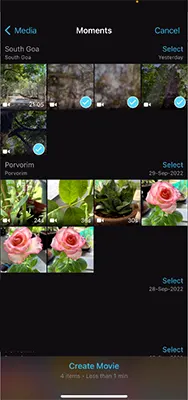
Select the vertical orientation video files from your phone and import it by tapping on the Create Movie
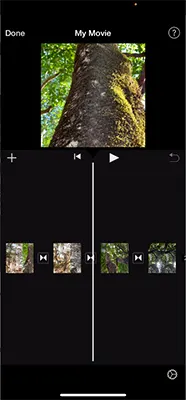
Once the file is imported the vertical video will be cropped and will give black bars on both sides
Here all you need to do is rotate the imported videos to landscape by holding your finger and thumb over the video image and then twist clockwise or anticlockwise by 90 degrees
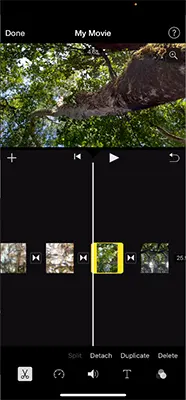
If you have imported multiple videos then you will need to do this to all of them one by one
Now all the videos will have same ratio as landscape video
Once you have done the above action, you can do editing which you are supposed to do in iMovie
Now one thing to keep keep in mind, you won’t be able to add titles or text as later on we are going to change the orientation of the video
Then tap on the Done button
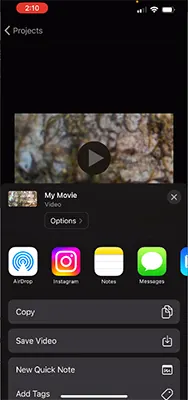
Tap on the share button and then Save the video
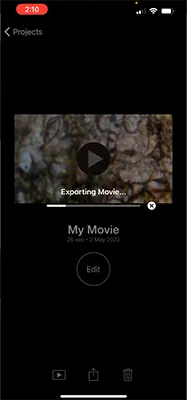
Once the video is successfully exported, open the photos and tap on the exported video
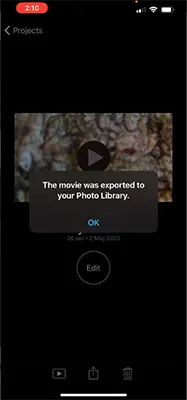
Once the video is opened tap on the edit button
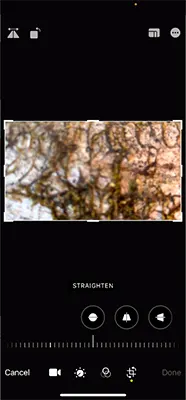
Tap on the rotate/ crop icon and rotate until video is in correct orientation
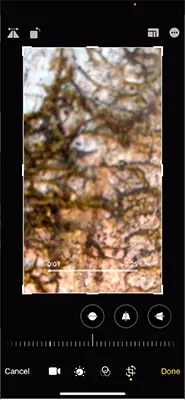
Tap on Done button to save iMovie iPhone Vertical Video
That’s it you have successfully edited and exported the vertical video in the iMovie app on your iPhone or iPad device. And this how to make shorts in iMovie and upload it as YouTube Shorts, Facebook/ Instagram Reels.
Vertical Videos can be edited and created using any of the project modes such as Magic Movie, Storyboard, and Movie.
Leave a Reply