A publicly accessible file like .user.ini on your WordPress website can pose serious security risks. This file may expose source code or sensitive information about your site, which in turn could put your website under a security threat. If such files are left accessible, any website visitor may be able to view or even download them.
So, to prevent such risks, you need to block these files from being publicly accessible. But how do you check whether the .user.ini file is accessible on your website?
First, let’s learn how to find out if the .user.ini file is publicly accessible.
Table of Contents
How to Find Out if .user.ini Is Publicly Accessible
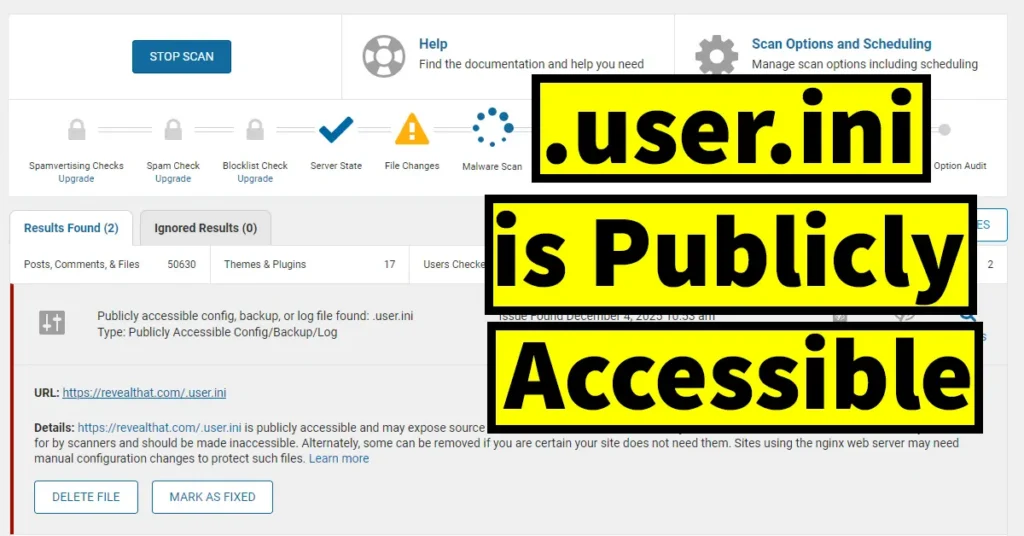
The first method is to install the Wordfence plugin and scan your website. If the scan results show an error stating:

“.user.ini is publicly accessible and may expose source code or sensitive information about your site. Files such as this one are commonly checked for by scanners and should be made inaccessible. Alternatively, some can be removed if you are certain your site does not need them. Sites using the Nginx web server may require manual configuration changes to protect such files.”
…then it means your .user.ini file is accessible to the public and needs to be secured.
Alternatively, you can check whether .user.ini is publicly accessible on your website by manually visiting the URL: yourwebsite.com/.user.ini
If, upon accessing this URL, the file gets displayed in your browser or you are able to download the .user.ini file, it means the file is publicly accessible.
How to Protect a Publicly Accessible .user.ini File
To protect the publicly accessible .user.ini file on your website running on an Nginx web server, follow the steps below.
Log in to your site control panel.
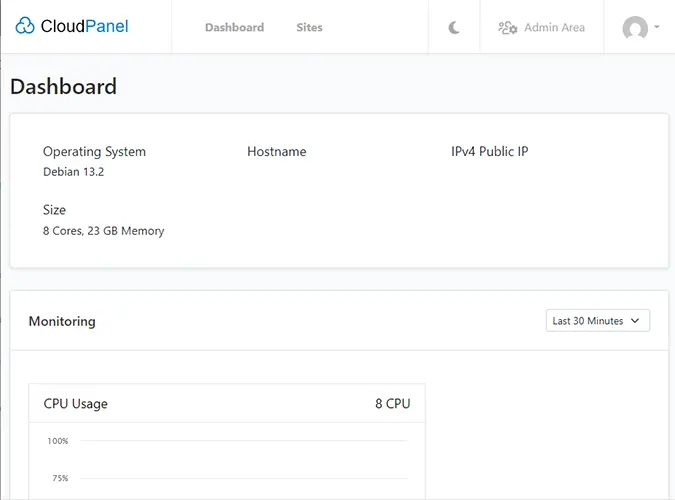
In this example, we are using CloudPanel, but the settings are similar for any panel running on Nginx.

From the dashboard, click on Sites.
Select the website you want to configure.

This will display the settings for the selected website.

Click on the Vhost tab.
The Vhost Editor will open.

Scroll down to the location section and paste the following code:
location ~ /.(.*)$ {
deny all;
}
After pasting the code, click the Save button.
Next, go to the Admin Area.
Click on Instance.

Under Services, click the Restart button next to the NGINX service.
This will restart Nginx on your server.
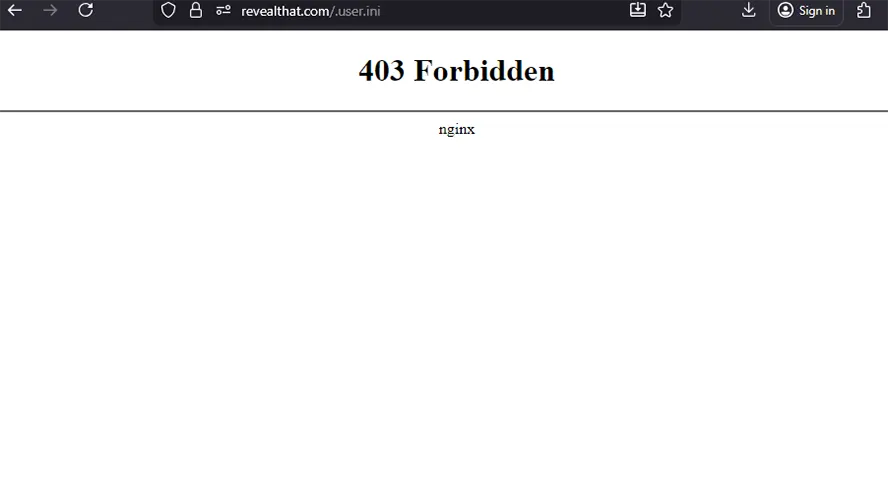
Now try accessing the .user.ini file by visiting its URL. You should see a 403 Forbidden – nginx error.
Additionally, if you run a Wordfence scan again, you will no longer receive an alert indicating that the file is publicly accessible.
Leave a Reply