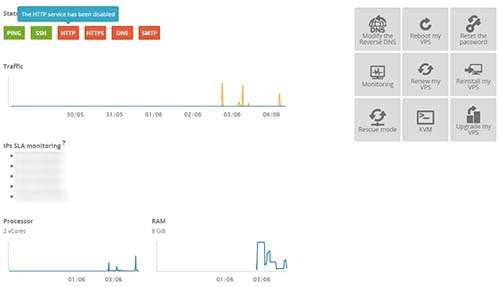
By default in OVH VPS you will find HTTP and HTTPS services disabled, so if you want to host your websites on your VPS it is very essential to enable HTTP and HTTPS services.
So today in this post we will guide you on How to Enable HTTP and HTTPS Service in OVH CentOS VPS.
Process to Enable HTTP and HTTPS Service in OVH CentOS VPS
To enable HTTP and HTTPS service you will have to install web servers, and once the web server is installed and configured you can start or enable the services. So in this article to enable the HTTP and HTTPS services we will guide you to install Apache web server on CentOS.
Open SSH program like Putty or you can even logon via KVM from OVH VPS Panel.
Login into your server via SSH Program or KVM.
Now before we start installing Apache, it is better to update repository packages. Type the below commands one by one to get it updated.
sudo yum update -y
sudo yum install httpd –y
Next you will have to Allow Apache through the firewall, which can done by allowing the default Apache port 80 (http) and 443 (https) using FirewallD. Type in the below commands one by one to allow the apache through the firewall.
sudo firewall-cmd –permanent –add-port=80/tcp
sudo firewall-cmd –permanent –add-port=443/tcp
Than you will have to reload the firewall service for the changes to take effect, by typing the below command.
sudo firewall-cmd –reload
Next restart the apache service to reflect the changes by entering the below command.
sudo systemctl start httpd
Than configure the apache service to start on OS boot by typing the below command.
sudo systemctl enable httpd
Now to check if the apache server is running or not, from your web browser in address bar type https://yourserveripaddress and hit on enter button.
If apache is installed and configured properly as mentioned in above steps than you will see default apache page.
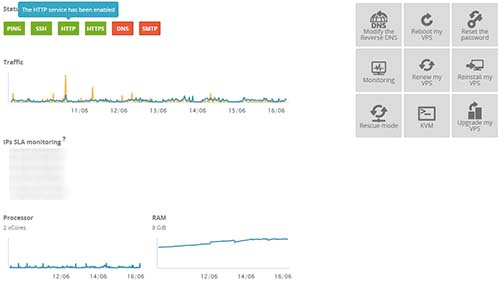
That’s it you have not enabled the HTTP and HTTPS service in OVH VPS, now you can login into your OVH control panel and check out the HTTP and HTTPS service showing enabled.
Hi thank for sharing. I get new OVH VPS today and face this issue so I have some feedbacks.
If you’re using nginx, no need to install httpd, just use 3 commands below then the issue will be fixed:
sudo firewall-cmd –permanent –zone=public –add-service=http
sudo firewall-cmd –permanent –zone=public –add-service=https
sudo firewall-cmd –reload
Hope this help!
Hi Hung Nguyen,
Thanks for your useful inputs.
Thanks :DD