If your Sony Google TV is running slowly, apps are not working properly, the TV is having software problems, or you simply want to start fresh, a factory reset can restore the TV to its default settings.
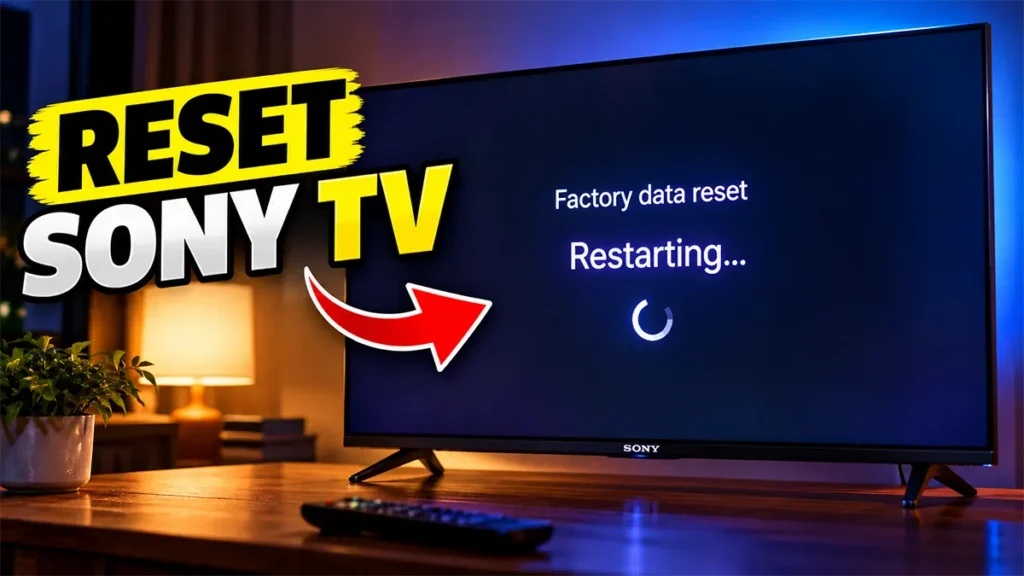
If your main problem is a slow, lagging or freezing Sony Google TV, you can first try these ways to make your Sony Google TV faster before performing a factory reset.
In this guide, I will show you how to reset a Sony Google TV from the TV’s Settings menu. The steps below are based on the Google TV interface shown in this guide, including the Settings → System → About → Reset menu.
Before starting, keep in mind that a factory reset is different from a normal restart. A factory reset removes your personal information, Google account, downloaded apps, network settings and other saved data from the TV.
Important: A factory reset erases information stored on the TV. This includes your Google account, downloaded apps, Wi-Fi settings, channels, personal settings and other customized data. Make sure you are ready to set up the TV again before continuing.
Because a factory reset removes downloaded apps, you will need to reinstall the apps you use afterward. If you need help with this, see our guide on how to install and uninstall apps on Sony Google TV
Table of Contents
What happens when you factory reset a Sony Google TV?
A factory data reset returns the TV to its default setup state.
Depending on your TV model and configuration, the reset can remove:
- Google account information
- Downloaded apps
- Wi-Fi network information
- Saved TV settings
- Channels and other customized settings
- App and system data
- Other personal information stored on the TV
You will therefore need to set up the TV again after the reset.
If you are only experiencing a temporary problem, it may be worth trying a normal restart or power reset before performing a factory reset. Sony also recommends trying a power reset before moving on to a factory data reset.
How to Reset Sony Google TV
Now let’s go through the reset process.
Turn on your Sony Google TV and open Settings.
Depending on your remote control and TV model, you may be able to open Settings using the Quick Settings button or from the Home screen.
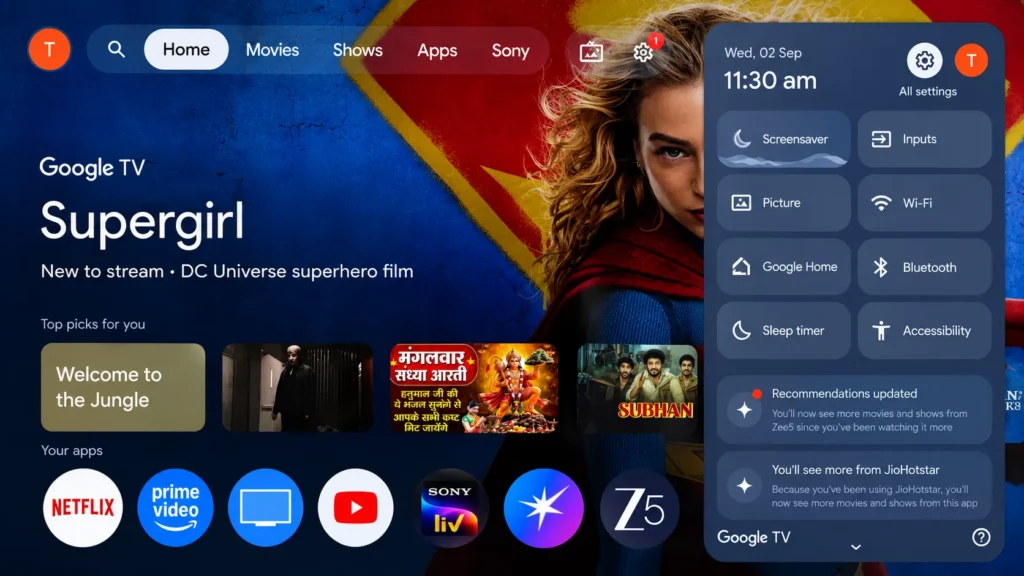
Once pressing the Settings button press OK, to bring the settings page.
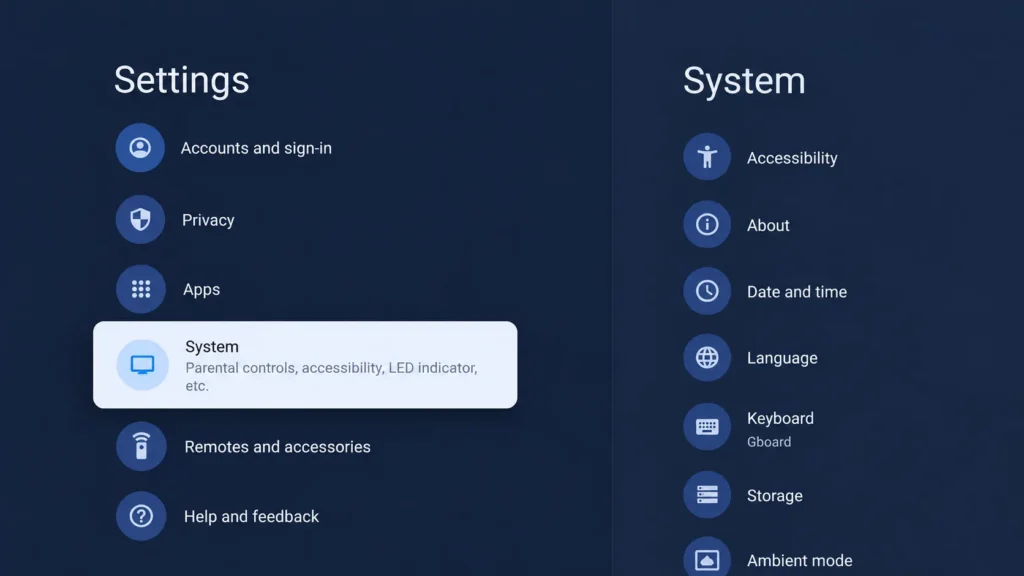
Inside Settings, scroll down and select System.
This section contains various options related to your Sony TV’s system and software.
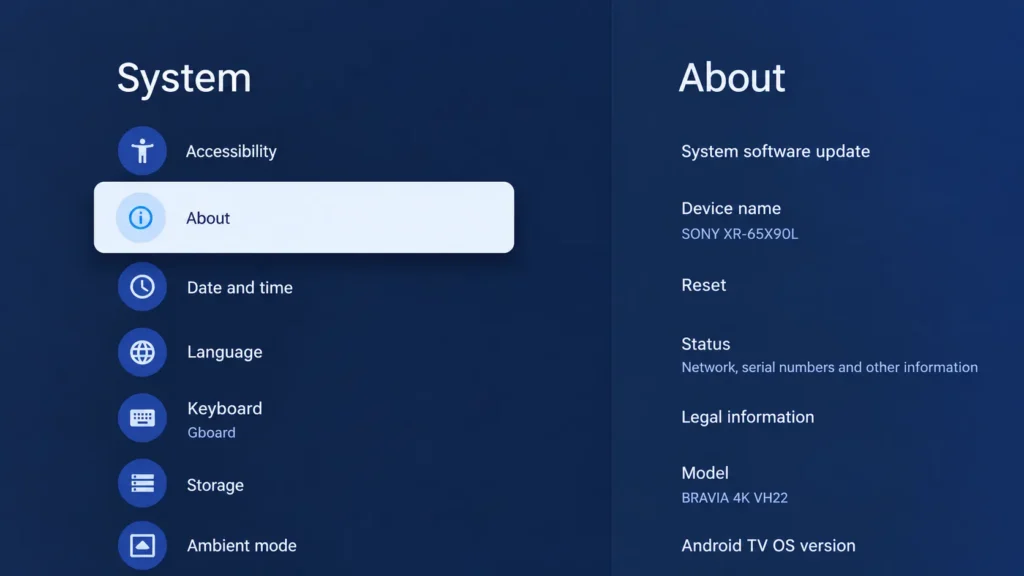
In the System menu, select About.
You should now see information about your television, including details such as the device name, model and software information.
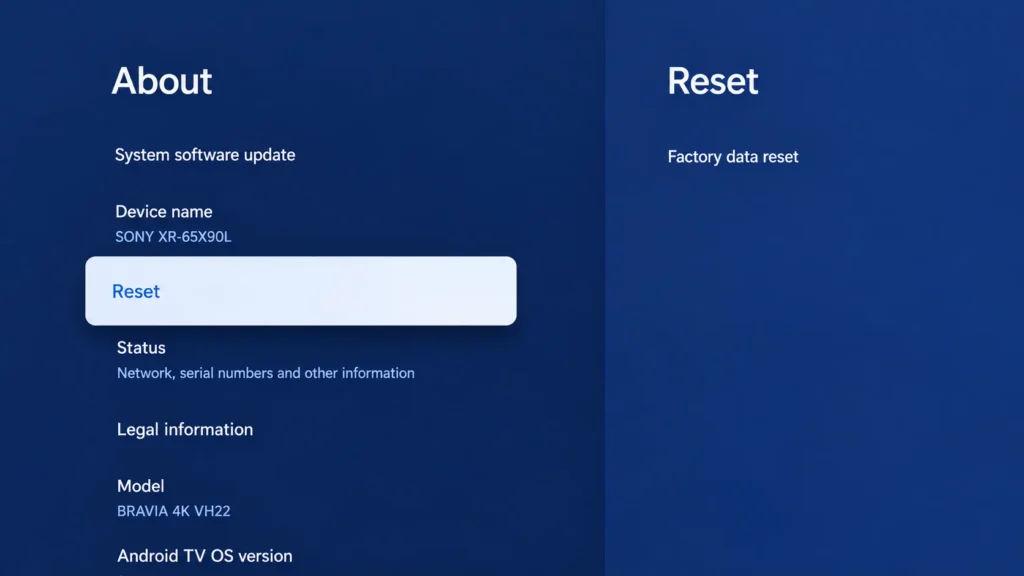
Scroll down until you find Reset and select it.
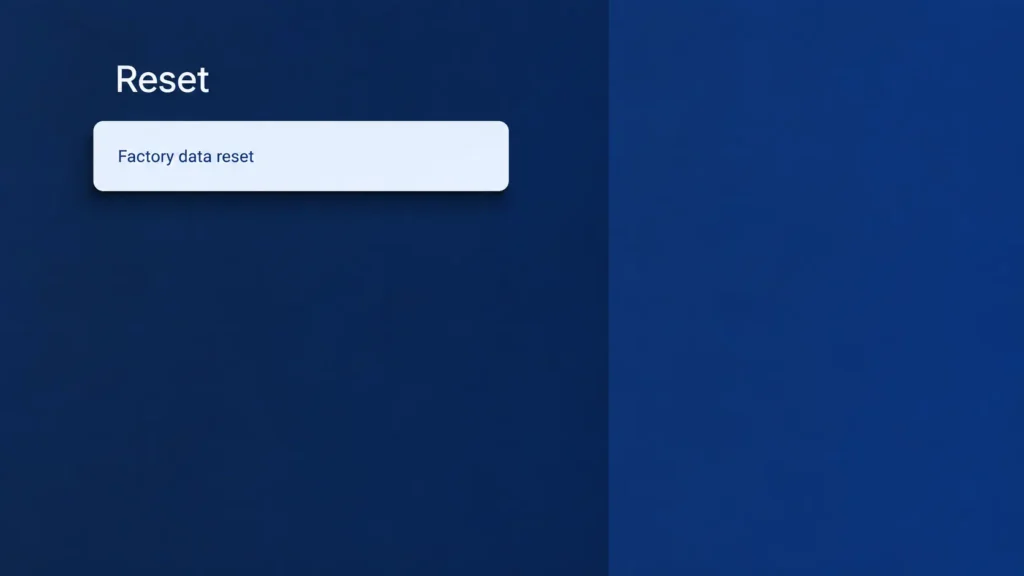
Inside the Reset menu, select Factory data reset.
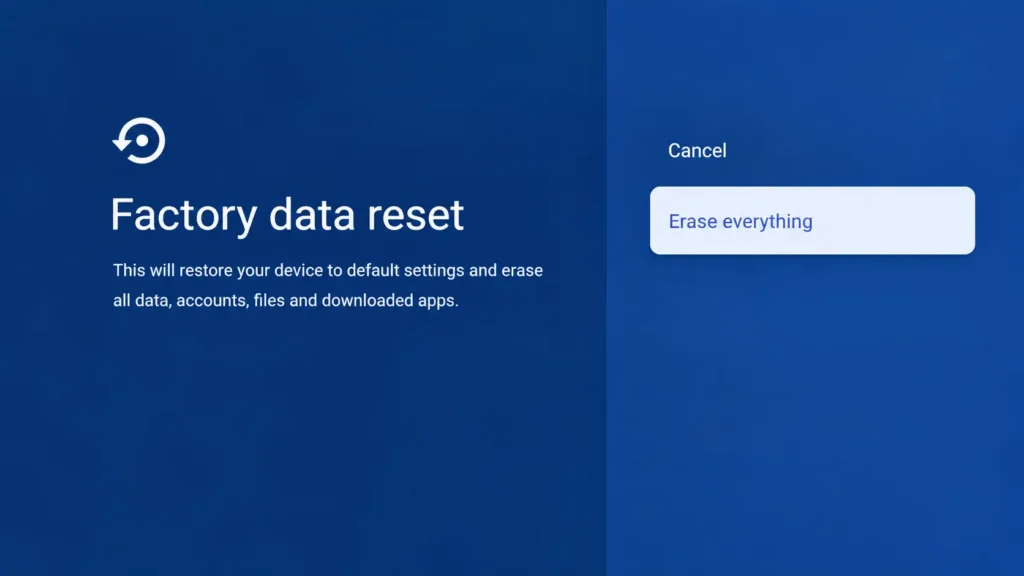
Before the reset begins, your TV will display a warning.
The warning explains that the factory reset will restore the television to its default state and erase information stored on the device.
This is the point where you should stop if there is anything on the TV that you still need.
If you are ready to continue, select Erase Everything.
The TV may ask you to confirm the operation again.
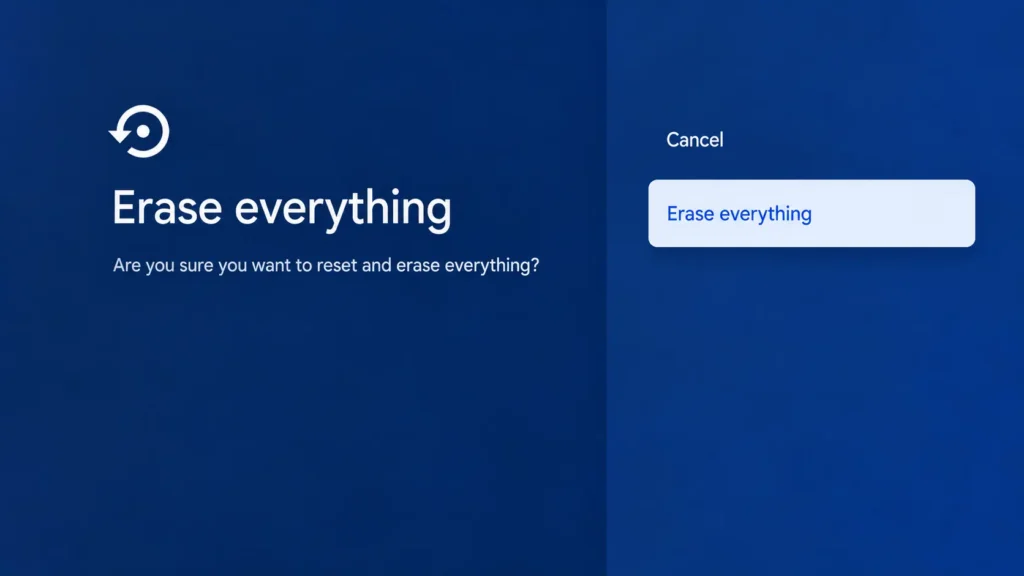
Select Erase Everything once more to begin the factory reset.
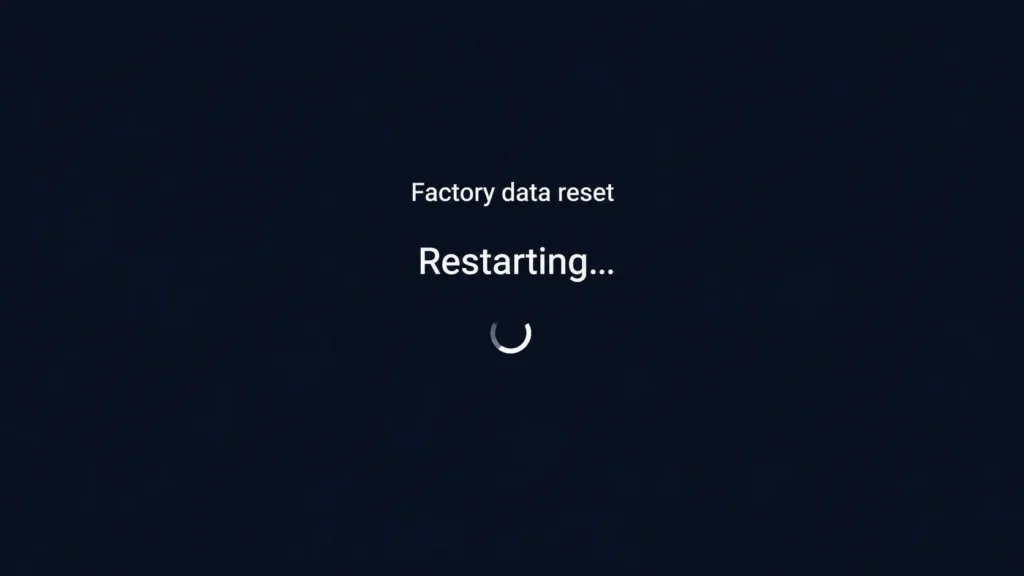
The reset can take a few minutes, so allow the TV time to complete the process. Sony also notes that the factory reset may take a few moments and that you should wait until the process has completed.
Set up Sony Google TV after the factory reset
When the reset is complete, the TV will start the initial setup process.
You will see the Welcome screen and will need to configure the TV again.
Select your language
Choose your preferred language.
In my setup, I selected English (India).
The available languages and regional variations can differ depending on the TV and region.
Select your country or region
Choose your country or region when prompted.
The options shown during setup can depend on the TV’s region and model.
Choose Google TV or Basic TV
The setup process may ask whether you want to use Google TV or set up the television as a basic TV.
For this guide, I selected Google TV.
Google TV gives you access to the Google TV interface, apps and other connected features.
Set up the TV using your phone or the TV itself
The TV may give you the option to use the Google Home app on your phone to complete setup.
If you prefer to do everything directly on the television, choose Set up on TV instead.
For this setup, I selected the option to continue directly on the TV.
Google also supports different setup methods for Google TV devices, although the exact options can vary by device and region.
Connect to Wi-Fi
Select your Wi-Fi network from the available networks.
Enter your Wi-Fi password and wait for the TV to connect to the internet.
A working internet connection is useful for signing into your Google account, downloading apps and completing the setup process.
Sign in with your Google account
When prompted, sign in with your Google account.
This allows you to use Google services and access features associated with your account.
Accept the terms and conditions
Read and accept the applicable Google terms and conditions shown during setup.
You may also be asked to accept Google’s services and privacy-related options.
Choose Google Assistant settings
During setup, the TV may ask whether you want to continue with Google Assistant.
Follow the options displayed on your TV and choose the settings you prefer.
Google Assistant can provide voice-related features and help with searching across supported TV apps.
Choose apps and streaming services
The setup process may give you the option to select streaming services or apps that you want to install.
Choose the services you use and confirm your selections.
You do not have to install everything during the initial setup. You can download additional compatible apps later from the TV’s app store.
Start the BRAVIA TV experience
The TV may display a BRAVIA setup or welcome screen.
Select Start to continue with the BRAVIA TV experience.
You may also see additional terms, permissions and setup preferences.
Review BRAVIA terms and permissions
Follow the instructions displayed on the screen.
In my setup, I selected the option to agree to all of the displayed items and then continued.
The exact options can vary depending on the TV model, software version and region.
Choose your power-saving preferences
The TV may ask you to choose power-saving settings.
Select the option that matches your preference.
You can generally adjust these settings later from the TV’s settings menu.
Set up TV channels
The TV may ask how you want to receive channels.
If you use an antenna, cable connection or another supported TV source, follow the on-screen instructions to scan or configure your channels.
If you do not want to configure channels at this stage, you may have the option to skip this step.
Select how your TV is positioned
The TV may ask whether it is installed on a tabletop stand or mounted on a wall.
Select the option that matches your TV installation.
This helps the television configure certain audio-related settings appropriately.
Run Acoustic Auto Calibration
If your TV offers Acoustic Auto Calibration, select Next and follow the instructions.
You may be asked to grant the required permissions before the calibration can continue.
Follow the on-screen instructions and allow the TV to complete the calibration.
Finish the remaining setup
Continue through the remaining setup screens and choose your preferred settings.
The TV may take a few minutes to finish configuring itself.
Once the setup is complete, your Sony Google TV will be ready to use again.
After completing the setup, it’s also a good idea to check whether your Sony TV has the latest software available. You can follow our guide on how to update Sony Bravia TV software
Resetting a Sony Google TV is straightforward when you know where the factory reset option is located.
For the Google TV interface shown in this guide, the main path is:
Settings → System → About → Reset → Factory data reset → Erase everything
After the reset, the TV restarts and takes you back to the initial setup screen. You can then select your language and region, choose Google TV, connect to Wi-Fi, sign in with your Google account, select your preferred apps and services, and complete the remaining BRAVIA setup options.
Keep in mind that menu names can differ slightly between Sony TV models and software versions. Sony’s own support documentation also lists alternative menu paths for different models, so if you do not see exactly the same options, check the instructions for your specific BRAVIA model.
Note: Sony can change menu layouts and setup options through software updates, and the exact screens can differ between BRAVIA models. The instructions in this guide are based on the Google TV reset path demonstrated in the video and Sony’s current support documentation.

Leave a Reply